Timeline editor
The Timeline Editor is where you build a Timeline input: a short programme of clips on tracks that plays back in step with Program. You drop inputs onto tracks, move and trim them, fade them in and out, mark cues, and watch the result in a picture that is the timeline's own input.
Command and Option. Where Windows differs it says so, and Windows lists what it has.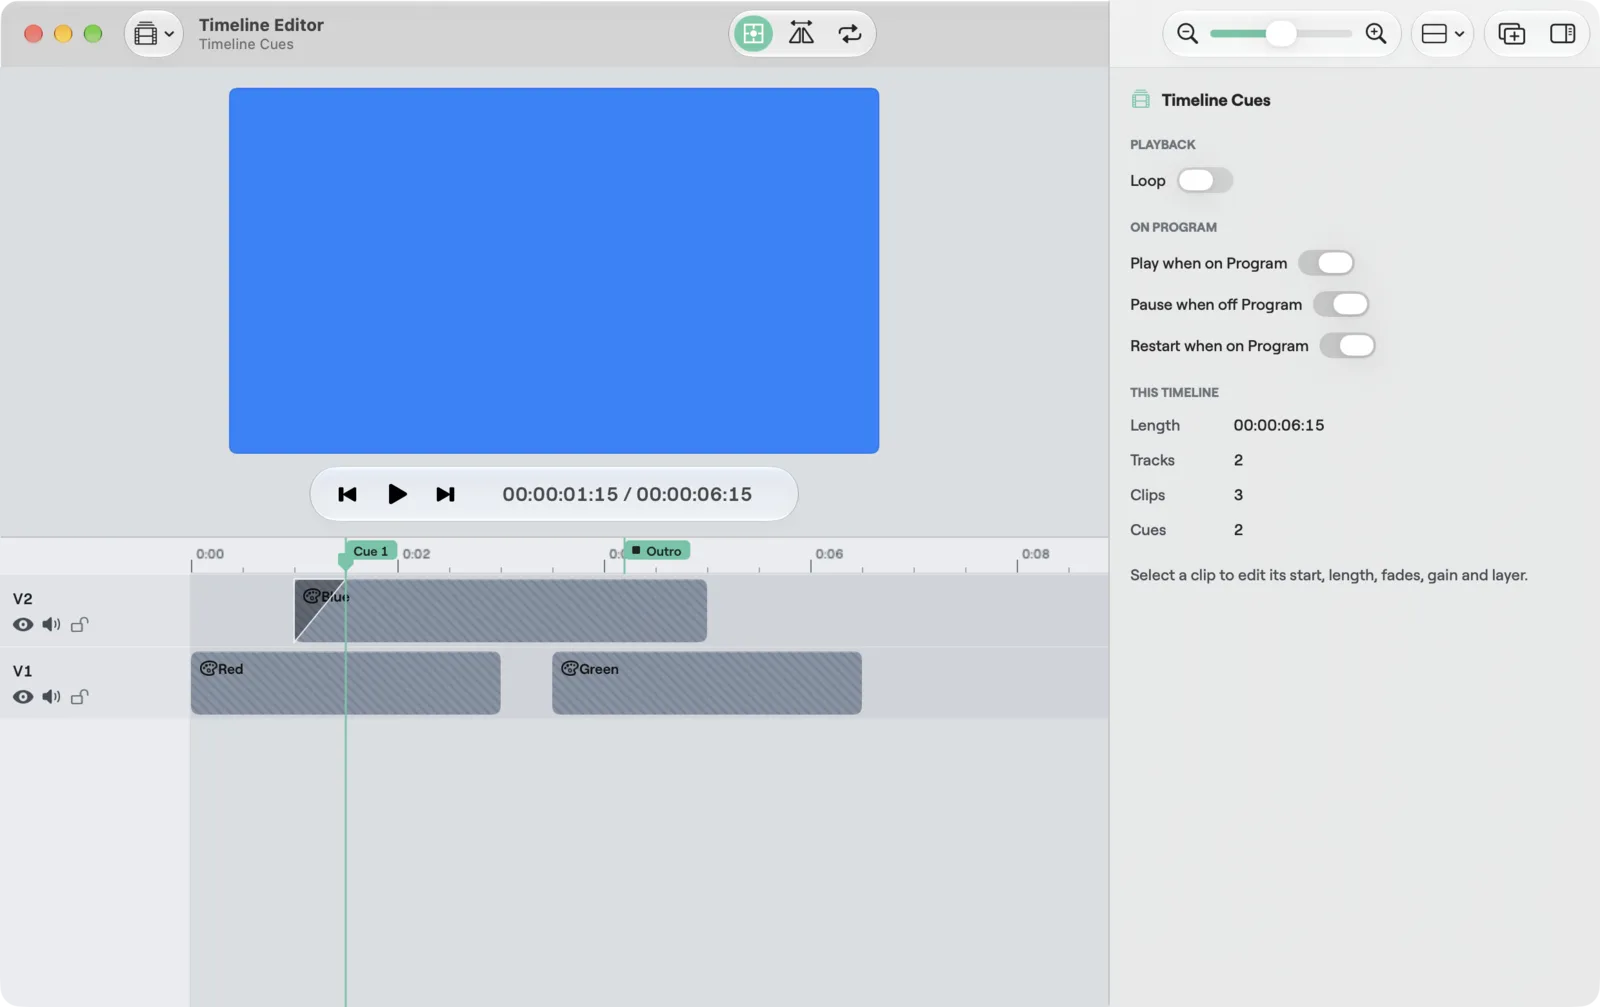
Open the editor
Double-click a Timeline tile in the Studio window. A timeline tile opens its editor instead of putting itself on air, so a stray double-click cannot cut a half-built timeline live. A single click still puts it on Preview.
You can also use the Timeline menu in the menu bar. It shows only on a plan that has Timeline. Open Timeline Editor opens the selected timeline (or the first one). The rest of the menu is every editor command, each with the key it uses shown beside it, so you can find a key by reading the menu. The commands act on the editor that is in front and are grayed out when there is nothing for them to act on, for example Delete with no clip selected.
On Windows the Timeline menu in the menu bar holds only Open Timeline Editor (selected timeline, else the first). The editor's other commands are on its keys, its edit bar and its right-click menu.
Each timeline has its own window, titled Timeline Editor, with the timeline's name under the title. The button at the left of the toolbar lists every timeline in the show (tooltip Open another timeline). If the timeline is removed from the show while its editor is open, the window says Timeline removed.
The window
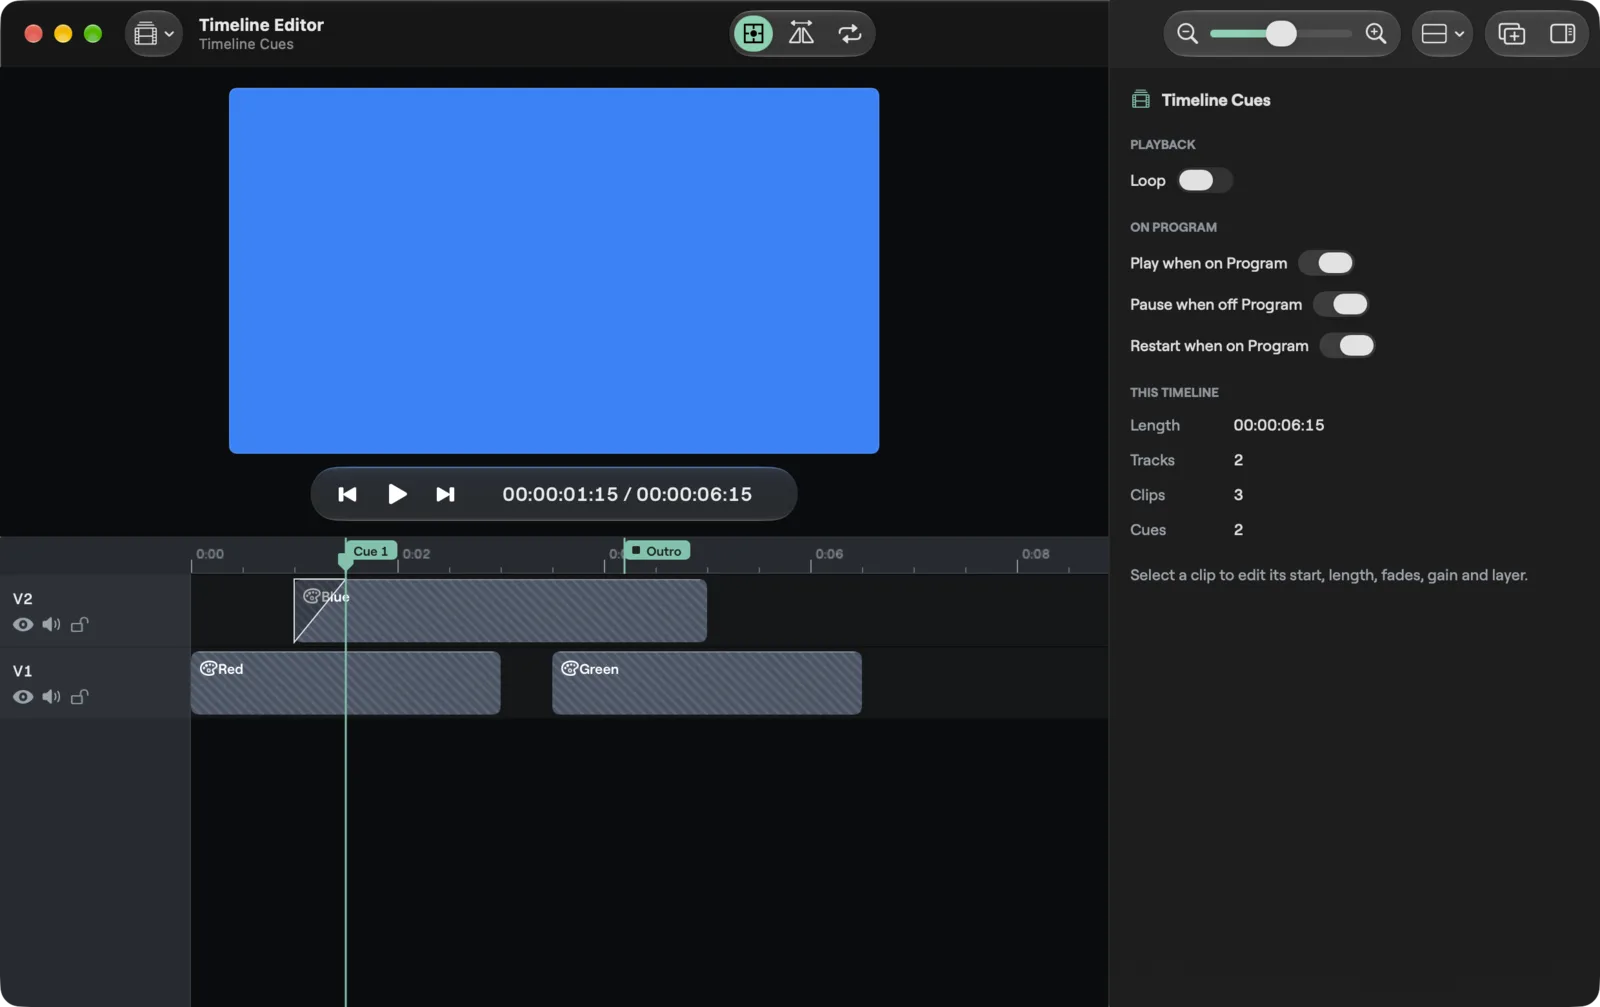
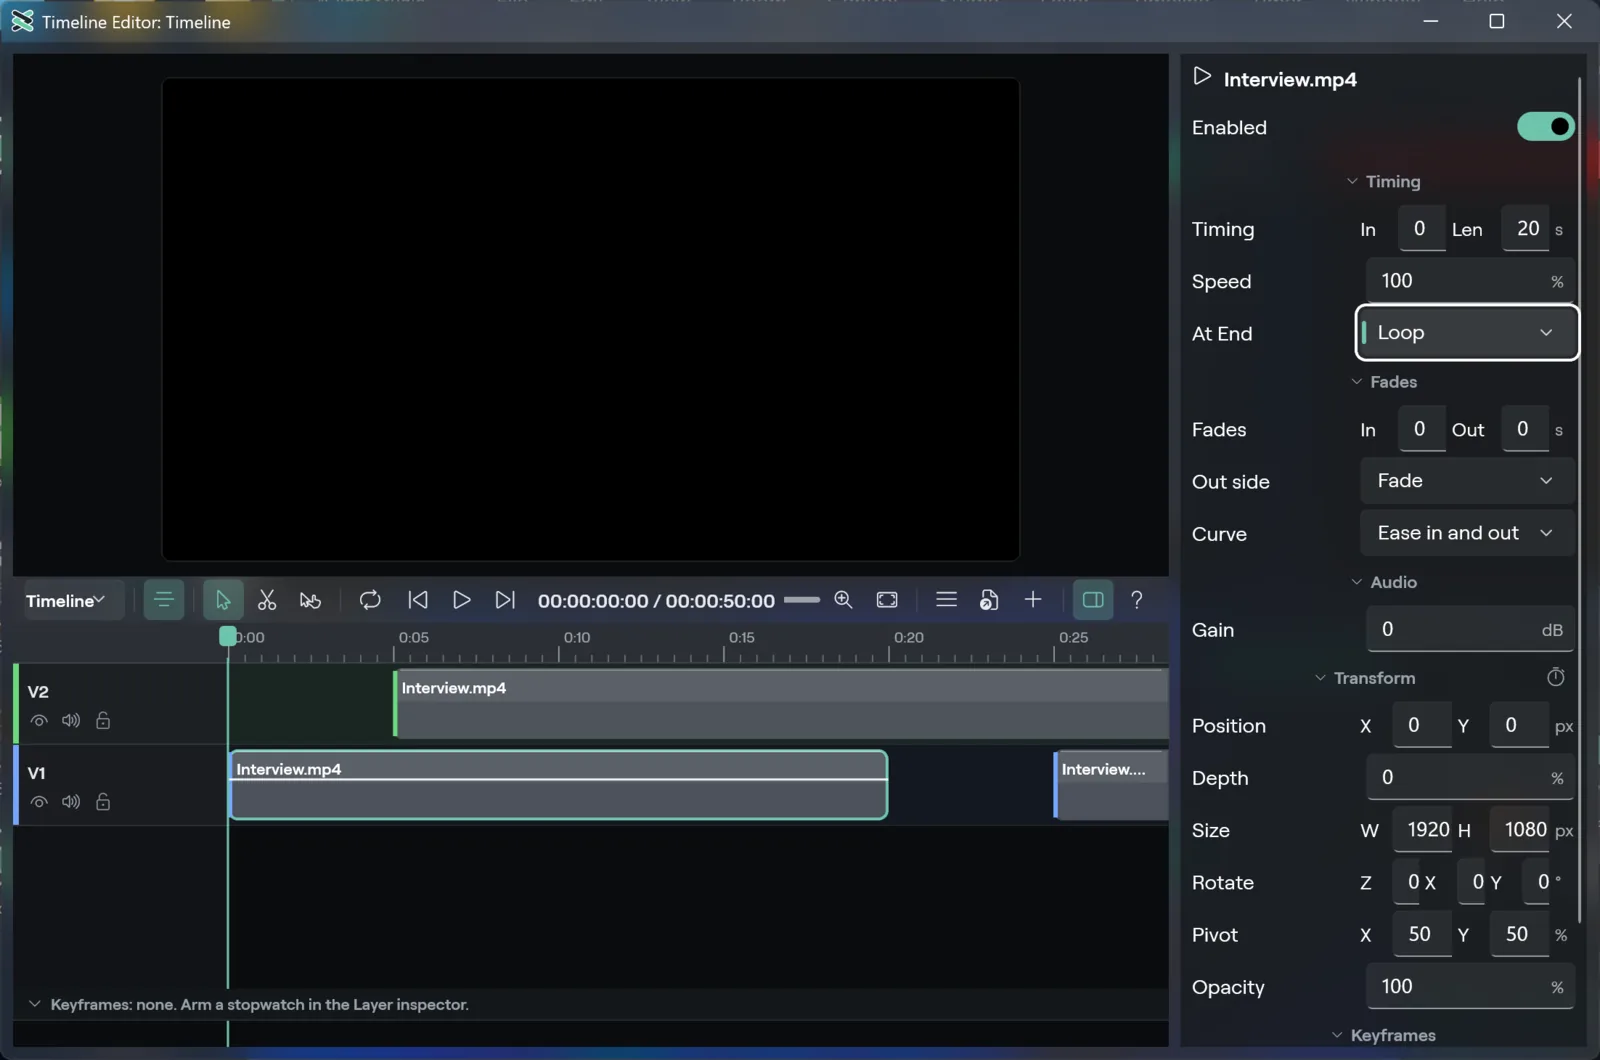
From top to bottom and left to right:
| Part | What it holds |
|---|---|
| Toolbar | The timeline list, then Snapping, Ripple and Loop as toggle buttons, a Zoom slider with its two magnifier keys, Track Height (Small, Medium, Large), Add Media…, Add Track (tooltip Add a track) and the inspector key |
| Picture | The timeline's own picture, 16:9. A red ring marks it while the timeline is on Program |
| Transport | Go to Start, Play or Pause, Go End, and the clock as hh:mm:ss:ff / hh:mm:ss:ff (position and length, 30 frames a second) |
| Ruler | Seconds, the playhead, and the cue flags |
| Tracks | One row per track, named V1, V2 and so on. V1 is at the bottom and a clip on a higher track draws over the ones below |
| Inspector | A side column for the selected clips, or for the timeline when nothing is selected. Show or hide it from the toolbar (Show Inspector and Hide Inspector) |
The first time a timeline opens it is empty, and the tracks area says An empty timeline and "Clips you add appear on tracks, in time."
Each track has a header with three keys: an eye (the track's picture shows or is hidden), a speaker (its sound is on or off) and a lock. A locked track cannot be edited: its clips do not move, trim, split or delete, and no clip is dropped onto it.
Add clips
Drag an input tile from the Studio window onto a track. A ghost clip follows the pointer and shows where the clip will land, and a drop only works where the ghost shows. Studio decides the length: a media file gets its own length and any other input gets 5 seconds.
- When the spot is busy, the ghost glides up to the first track above that has room. If no track has room, an empty New Track row opens at the top and the clip goes there.
- What can be a clip. Any input except an audio input and another timeline. A List goes on as its files, see Lists as clips.
- Without dragging. Select an input in the Studio window, put the playhead where it should start, and press Shift+Command+Return. The clip goes on the first track with room at the playhead.
Add Track in the toolbar puts a new empty track on top.
Add Media
Add Media… puts movie, audio and image files on the timeline without adding them to the show first. Studio adds each file as a media input and lays the clips on the timeline in one go. Three ways to start it:
- The button. Add Media… in the toolbar opens the system file picker, and you can pick several files.
- The menus. Add Media… in the right-click menu of a clip or of empty space on a track, and on the Mac also in the Timeline menu. It has no key of its own.
- A drop. Drag files from the Finder onto a track (Explorer on Windows).
Where the clips land:
- From the button or a menu. The clips start at the playhead, one after another in the order you picked, on the track of the first selected clip, else on the bottom track. When the spot is busy a clip goes up to the first track above that has room, as for any clip.
- From a drop on the Mac. At the spot the ghost shows. The ghost glides to a track with room, and a locked track takes no drop.
- From a drop on Windows. On the track under the pointer, at the time under the pointer. Below the last track, the bottom track.
Each clip gets its file's own length (a still image gets 5 seconds). A file the show already plays keeps its input, so it is not added twice. The whole thing is one undo step: Edit, Undo takes back the new inputs and the clips together, and Redo brings both back. If any file is not a movie, audio or an image, the whole add is refused.
Lists as clips
A List input goes on a track as its files, laid end to end at their own lengths, in the order of the list. Three ways to put one on:
- Drag it from the Studio window onto a track. The ghost shows one clip per file and appears once every file's length is known.
- Right-click empty space on a track and choose Add List Items, then the List. It lands where you clicked. Only Lists that have files are listed.
- Select the List in the Studio window, put the playhead where it should start and press Shift+Command+Return.
A file that is not yet a media input is added as one. The whole List is one step in Studio's undo history. On an on-air timeline it needs Edit Live.
Titles
Add Title puts a new title and its clip on the timeline at the playhead, 5 seconds long. Press Option+T, choose Add Title in the Timeline menu, or right-click a clip or empty space on a track and choose it there. The clip goes on the track you right-clicked, else on the track of the selected clip, else on the bottom track, and moves up to a track with room when the spot is busy. Adding the title and its input is one undo step.
Select the clip and edit the words in the Text section of the inspector. On an on-air timeline, Add Title is refused until Edit Live is on.
Move, trim and fade
| To do this | Do this |
|---|---|
| Select a clip | Click it. Shift-click selects a range, Command-click adds or removes one |
| Select several | Drag a box on empty track area (a marquee). Shift keeps the clips already selected. Command+A selects all |
| Move | Drag the clip. It can change track as it moves. Shift locks it to one direction, Option drags a copy |
| Trim | Drag the left or right edge of the clip. A bubble shows the change in time. A clip cannot trim into its neighbour. A media clip set to Stop cannot run past the end of its file. With Hold Last Frame, Loop or Reverse it can: see At End |
| Fade | On a selected clip, drag at the top edge where the fade ramp ends: the left one sets the fade in, the right one the fade out. With no fade yet, that point is the clip's own corner |
| Seek | Click the ruler or empty track area, or drag along the ruler |
The default fade is 0.5 seconds. Command+D adds the default fades to the selected clips and Shift+Command+D removes them. A clip with fades shows the ramp drawn over it.
Every gesture is one step in the Studio's undo history, so Edit, Undo takes back a whole drag, trim or fade in one go.
Snapping
Snapping is on by default. While you move a clip, trim an edge or drag a cue, it snaps to the playhead, to the edges of other clips, to cues, and to the very start and end of the timeline. A line shows what it snapped to and, on a trackpad, you feel a small tap. Turn it off with the Snapping toggle in the toolbar or the S key.
Ripple
Ripple changes what delete does. With it on, deleting a clip also closes the gap it leaves on its track, by moving the later clips on that track back. With it off, the gap stays. Shift+Delete is always a ripple delete, whatever the toggle says.
Zoom
The Zoom slider, the magnifier keys, Command+Plus and Command+Minus zoom the time scale. Backslash (\) fits the whole timeline in the window. On a trackpad, pinch to zoom, or hold Option and scroll. Scroll sideways to move along the timeline. A track height of Small, Medium or Large changes how tall the rows are.
Right-click a clip
| Item | What it does |
|---|---|
| Split at Playhead | Cuts the clip in two at the playhead |
| Cut Clips, Copy Clips, Paste Clips | Cut or copy the selected clips and paste them at the playhead. Paste is grayed out until something is copied |
| Delete | Deletes the selected clips |
| Ripple Delete | Deletes them and closes the gap |
| Add Fade In, Add Fade Out | Gives the clip the default fade on that side |
| Remove Fades | Takes both fades off |
| Add Cross Dissolve, Remove Cross Dissolve | Puts a dissolve on the cut into the clip, or takes it off. See Cross dissolve |
| Normal Speed, Slow 50%, Fast 200% | Sets the speed of the selected media clips. Grayed out unless one is selected. See Clip speed |
| Duplicate | Puts a copy of the selection straight after it |
| Add Selected Input at Playhead | Puts the input selected in the Studio window on a track at the playhead |
| Add Media… | Picks files and lays them on the timeline. See Add Media |
| Add Title | Adds a title and its clip at the playhead. See Titles |
| Reveal Input in Studio | Selects the clip's input in the Studio window and opens that window |
| Clip Settings | Shows the inspector |
Cross dissolve
A cross dissolve blends one clip into the next at a cut, where a clip ends exactly where the next one starts on the same track. Select the later clip (or, when it is the only clip selected, the earlier one) and choose Add Cross Dissolve or press Command+T. Remove Cross Dissolve or Shift+Command+T takes it off. A dissolve is 1 second long. Locked tracks are left alone.
The dissolve is centred on the cut, so it needs picture on both sides: a media clip must have file left past its end point and before its start point. Studio shortens the dissolve to what both clips can give, and to no more than half of either clip. A still or a live input has no limit of its own. A dissolve replaces the fades of both clips at that cut and ramps on the fade Curve. It shows as a mark over the overlap.
Clip speed
Media clips can play faster or slower. Select them and press Command+R for Normal Speed, Shift+Command+R for Fast 200% or Option+Command+R for Slow 50%. Or set Speed in the inspector, from 10% to 1000%. Only media clips have a speed, and the commands are grayed out unless one is selected.
The clip plays the same part of its file, so its length follows the speed: at 200% it is half as long, at 50% twice as long. Speed is forward only, and a clip plays its sound only at 100%.
At End
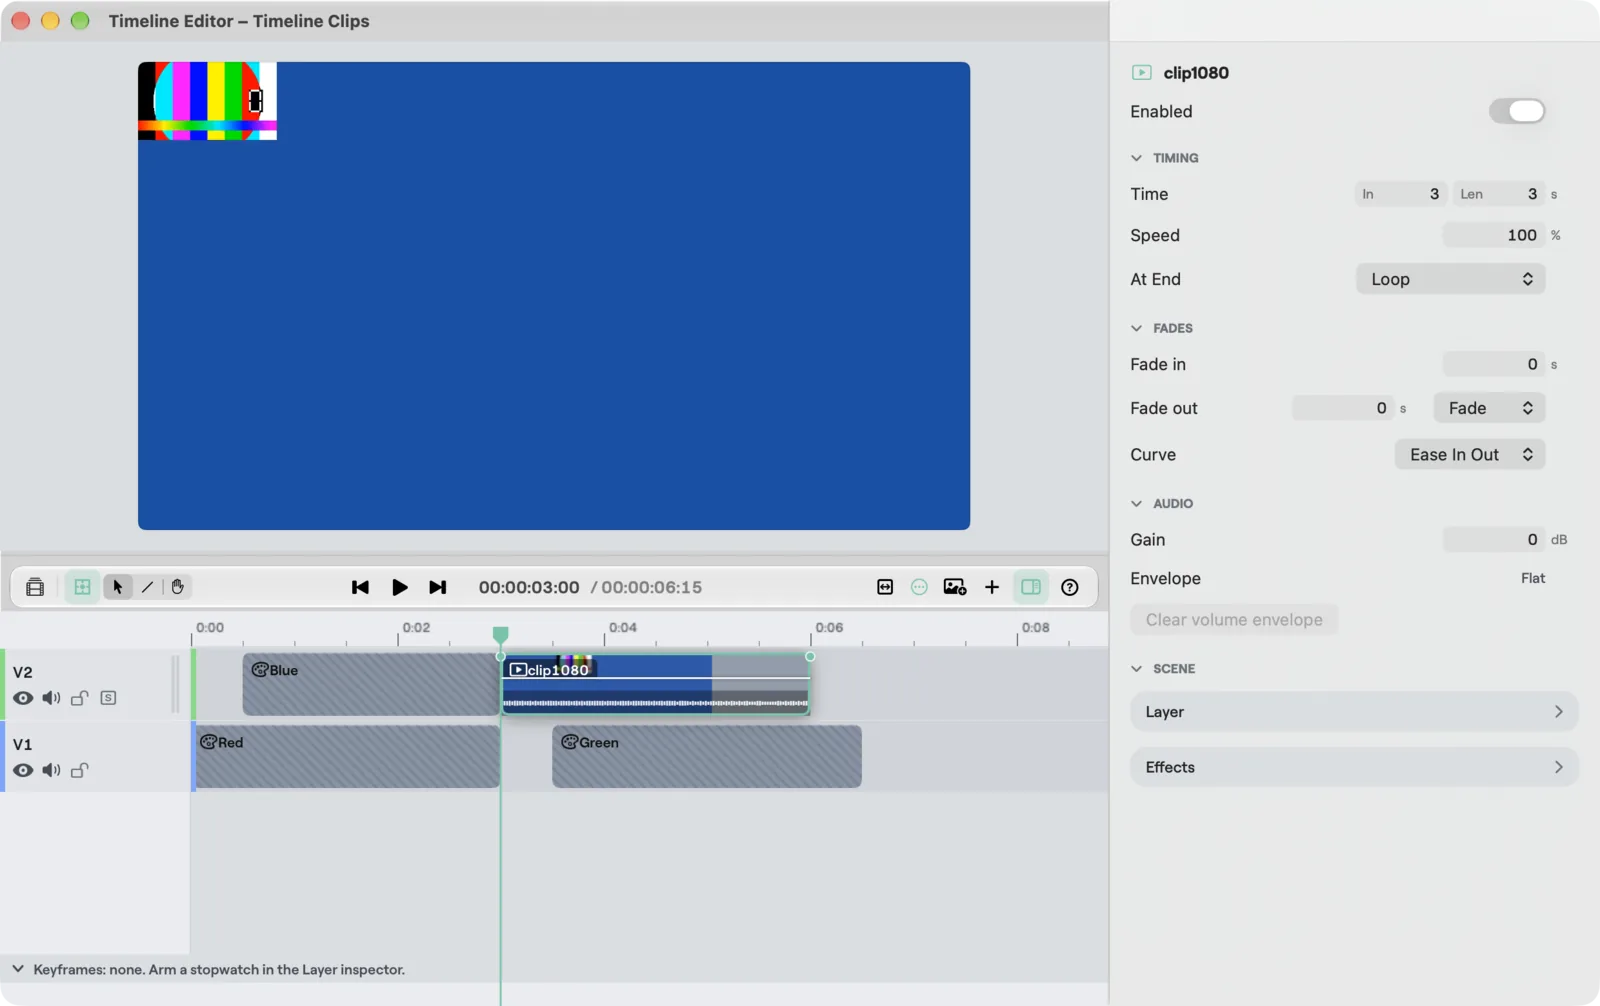
A media clip normally ends where its file does. At End in the inspector says what the clip does when you stretch it past the end of its file:
| At End | What the clip does past its file |
|---|---|
| Stop | The default. The clip ends where its file ends, and the editor does not let you trim or lengthen it past that |
| Hold Last Frame | The clip runs on and the last frame stays on screen, silent, to the end of the clip |
| Loop | The file plays again from the clip's start point each time it ends, to the end of the clip, sound and all |
| Reverse | The file plays to its end, then backwards to the clip's start point (silent), then holds its first frame, silent, for any rest of the clip |
Any choice other than Stop lifts the trim limit, so you can drag the right edge, or type a longer Length, as far as you like. The clip's length stays the length you set. Only a media clip with a known file length has the row. A live input, a still, a title or a scene always acts as Stop, and a show saved before At End opens with every clip on Stop. Select several clips and a different choice reads Mixed. Changing it is one undo step.
Keyframes
A clip can change its picture over time. Open the Layer page of the inspector, set the box, rotation, crop and opacity as you want them at one moment, put the playhead there inside the clip and press Option+K (Add Keyframe at Playhead, also a button on the page). That is a keyframe, drawn as a diamond on the selected clip. Between two keyframes the layer eases from one to the next, and before the first and after the last it holds.
- One clip. Keyframes work on a single selected clip, not on a locked track, with the playhead inside it. Adding a key where one already is replaces it.
- Previous and next. Option+; and Option+' move the playhead to the previous or next keyframe of the selected clip.
- Remove. Remove Keyframe on the Layer page drops the key at the playhead.
- Easing. The Layer page lists every keyframe by its time, each with an Easing menu (Linear, Ease In, Ease Out, Ease In Out, Smooth) for how the layer eases to the next key. A new key eases like the one before it, and the first one eases in and out.
Only the box, rotation, crop and opacity are keyed. While a clip has keys, the picture follows them for those four, and the Layer page edits the clip's base layer, not a key. Press Option+K to put a change into a key. The rest of the layer, such as the look, stays as the Layer page sets it. Splitting a clip gives each half the keys it needs to look the same.
Split at Playhead and the playhead keys below act on the selected clips under the playhead, or, with nothing selected, on every unlocked clip under it.
Clip effects
With one clip selected, the Effects row in the inspector opens a page with the same controls as an input's effects in Studio: Colour correction, LUT, Chroma key and Luma key. Back to clip returns. They are the clip's own, so the same input can look different on each clip. A clip with none turned on is plain and shows its input as it is.
On macOS that page also has the Picture controls (Mirror horizontal, Mirror vertical, Deinterlace) and Sharpen. Deinterlace is on the Studio and Enterprise plans; mirror and sharpen are free on every Studio plan.
A slider changes the picture while you drag and the release is one undo step. On an on-air timeline, effects edits need Edit Live. A LUT file that cannot be read is refused.
Cues
A cue is a named flag on the ruler. Cues are marks to jump to, and each can also act when playback reaches it: its Follow action.
- Add a cue: press M. It lands at the playhead and is named Cue 1, Cue 2 and so on.
- Go to a cue: click its flag.
- Move a cue: drag its flag. It snaps like a clip edge.
- Rename: double-click the flag and type. Return keeps the name.
- Right-click a flag: Go to Cue, Rename Cue, Follow (a submenu, the current one ticked) and Delete Cue.
Follow actions
A new cue is Continue: playback runs on past it. Change it in the Follow submenu of the flag or in the Follow menu in the cue's row of the Cues list:
| Follow | What happens when playback reaches the cue |
|---|---|
| Continue | Nothing. Playback runs on |
| Stop | Playback pauses at the cue |
| Go to Cue 2 | Playback jumps to that cue and plays on. The menu lists the other cues by number, in time order. Pointing at an earlier cue makes a loop. If that cue is deleted, playback runs on |
| Wait 1 Second, Wait 2 Seconds, Wait 5 Seconds, Wait 10 Seconds | Playback pauses at the cue for that long, then plays on |
A cue with an action other than Continue shows a mark on its flag: a square for Stop, a return arrow for Go to Cue, an hourglass for Wait. Follow actions fire only when playback crosses the cue going forward. Going to a cue or to a time (a click, a key or External Control) never fires one. A show saved with stop cues opens with them as Stop.
Shift+M opens the Cues list (the Cue List item in the Timeline menu). It has Previous cue and Next cue, an Add Cue key, and one row per cue with its number, name and time, its Follow menu, and two keys: Go to cue and Delete cue. With no cues it says "No cues yet. Press M to add one at playhead."
A cue also counts as an edit point for the Up and Down keys, and clips snap to it.
With VoiceOver on, every cue flag on the ruler is a button you can reach. It reads like "Cue 1, at 1.5 seconds, stops playback", or "Cue 1, at 1.5 seconds, then Wait 5 Seconds". Pressing it goes to the cue, and its actions are Move Earlier and Move Later (one second), one Follow action for each choice, and Delete Cue. Renaming is done with the double-click, not through an action.
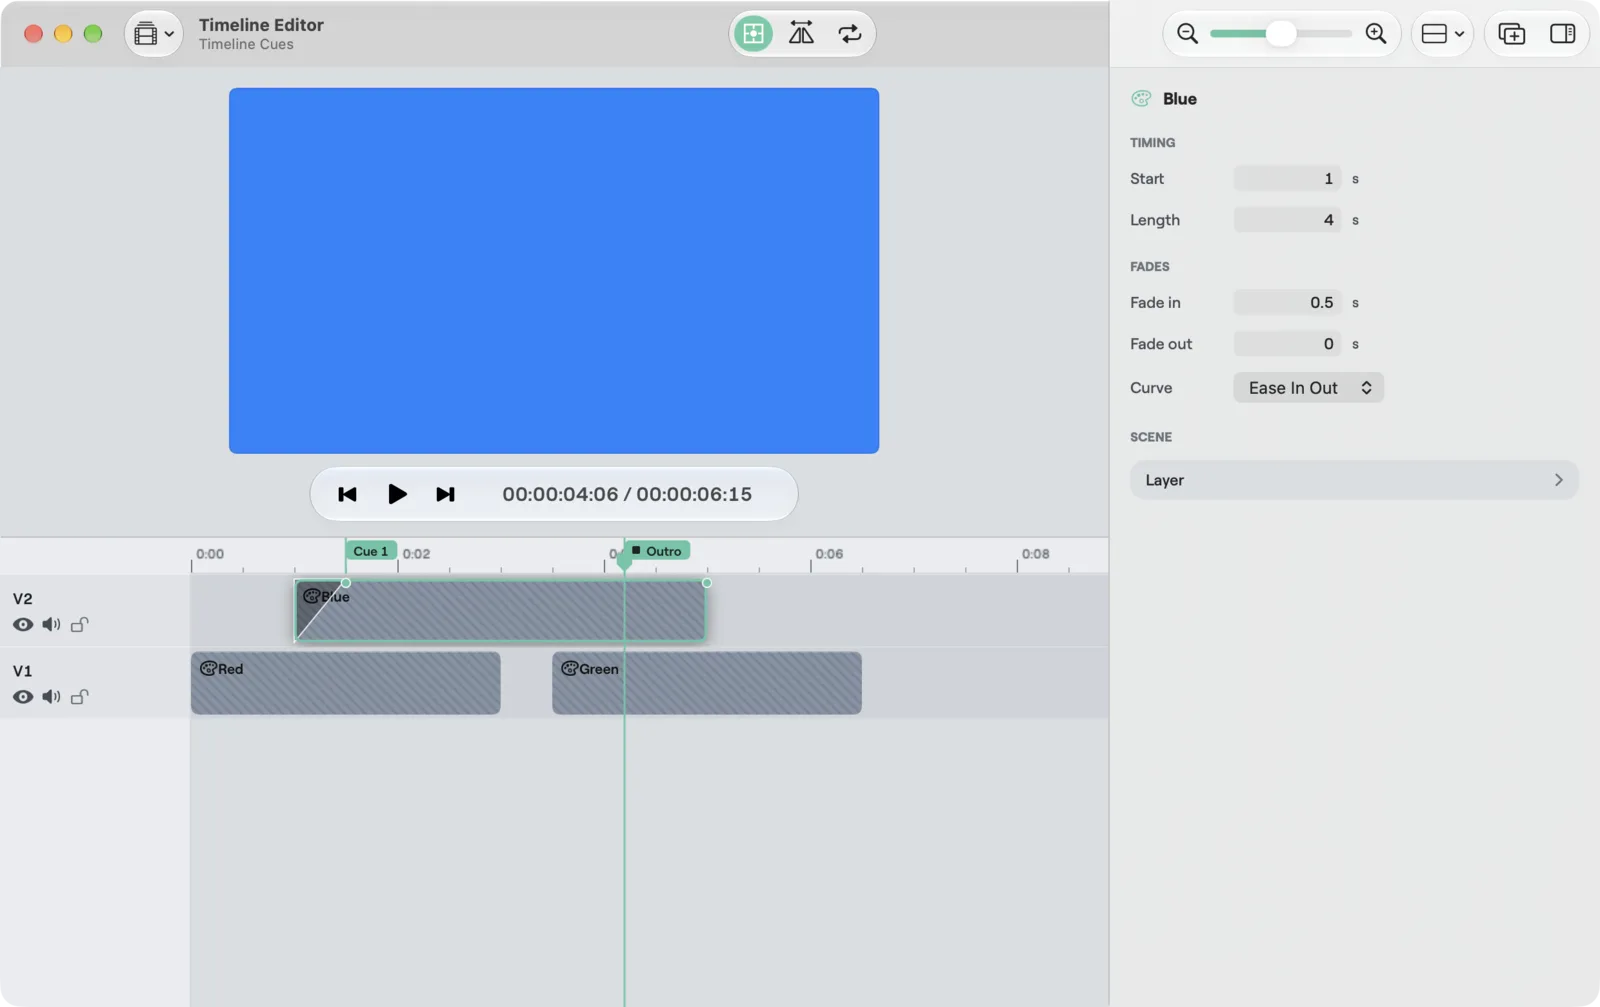
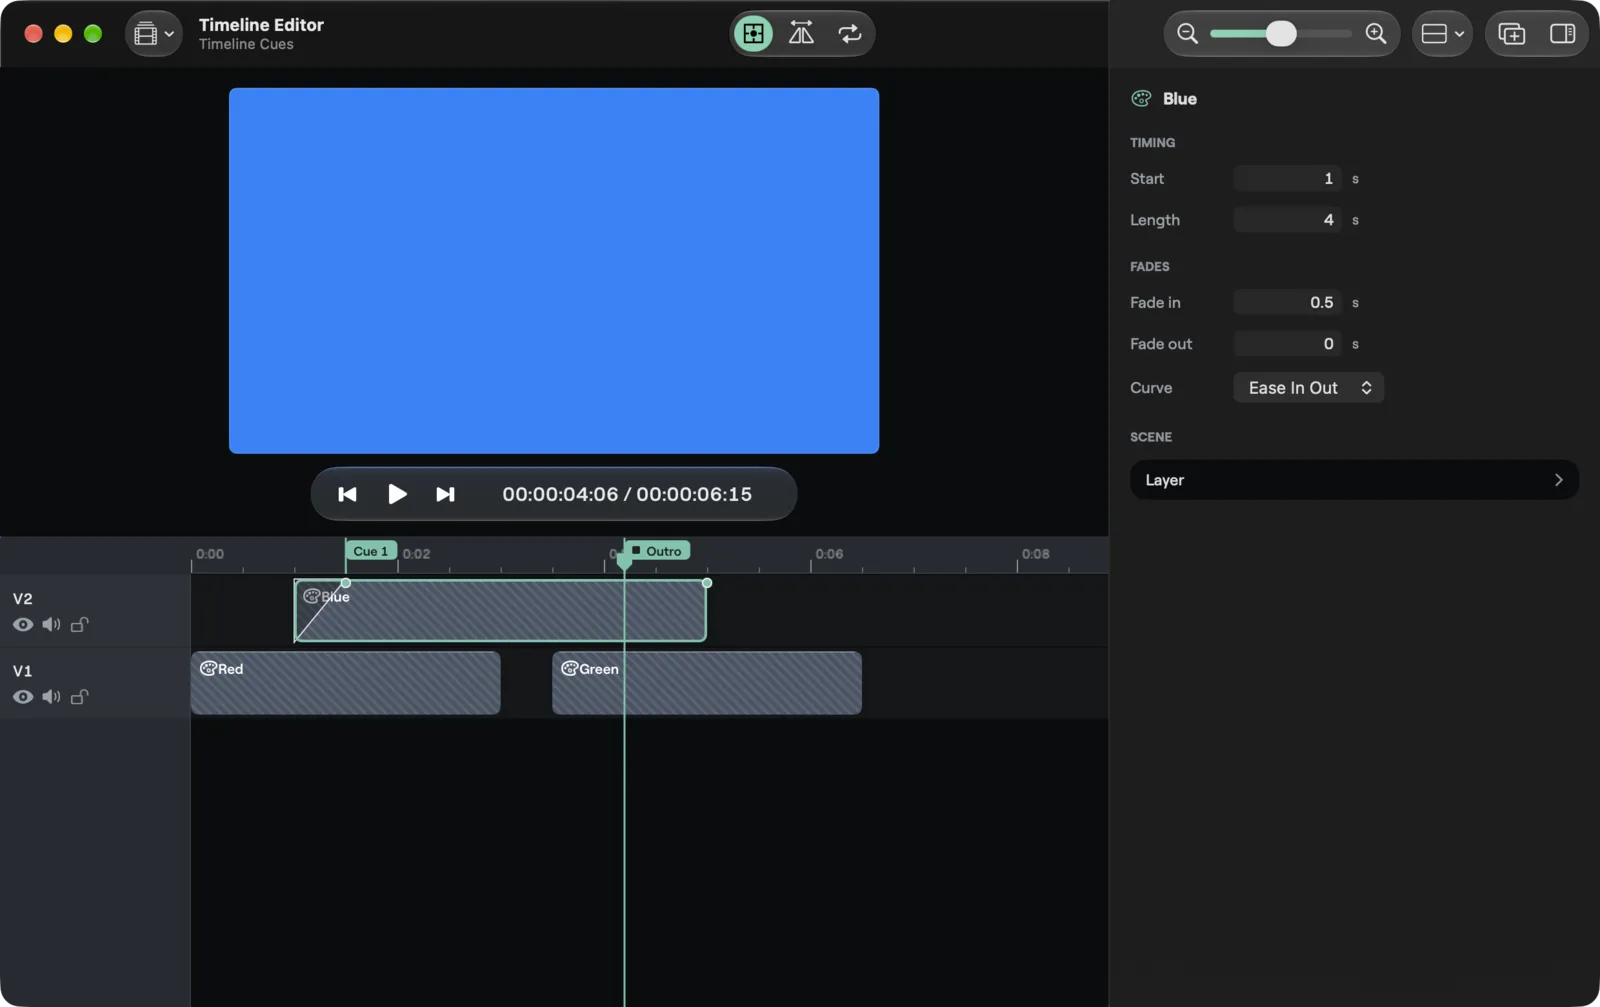
The inspector
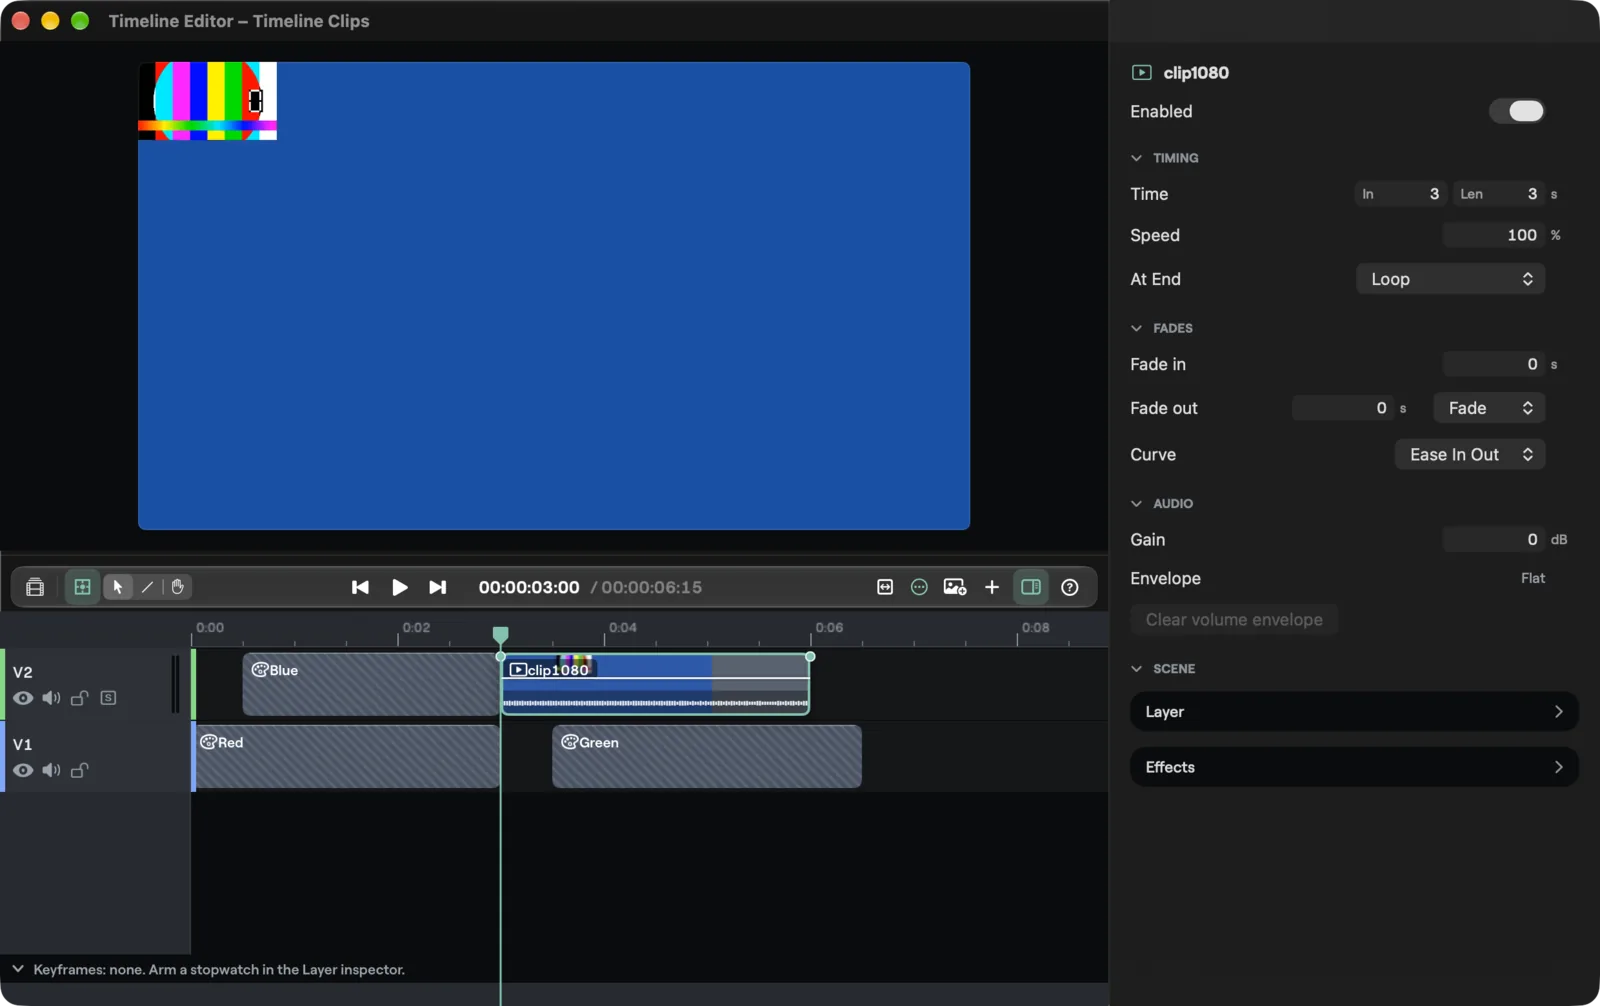
With clips selected, the inspector shows them. With one clip it is headed by the input's name and kind icon. With several it says how many clips are selected, and any field where they differ reads Mixed. Changing a field changes every selected clip.
| Section | Fields |
|---|---|
| Timing | Start and Length, in seconds. Drag a number or type one. Media clips also have Speed, in percent, and At End (see At End) |
| Fades | Fade in and Fade out in seconds, and Curve, the shape of both fades |
| Audio | Gain in dB, from -60 to 12. Only for media clips |
| Text | Only for a title clip: the title's own text fields. Edit them here, not on the clip |
| Scene | Layer: opens a second page with the clip's layer, the same fields as the layer inspector in the Scene editor (position and size, crop, and how the picture looks), and, with one clip selected, its keyframes. Back to clip at the top returns. With several clips selected, a change applies to all of them. With one clip selected, Effects opens a page of the clip's own effects, see Clip effects |
On a scene clip, a scene layer you pick on its lane gets an Animation section on the layer page, with Enter and Exit (see Enter and Exit). It edits the scene's own layer as one undo step. A clip's own layer has no Enter or Exit.
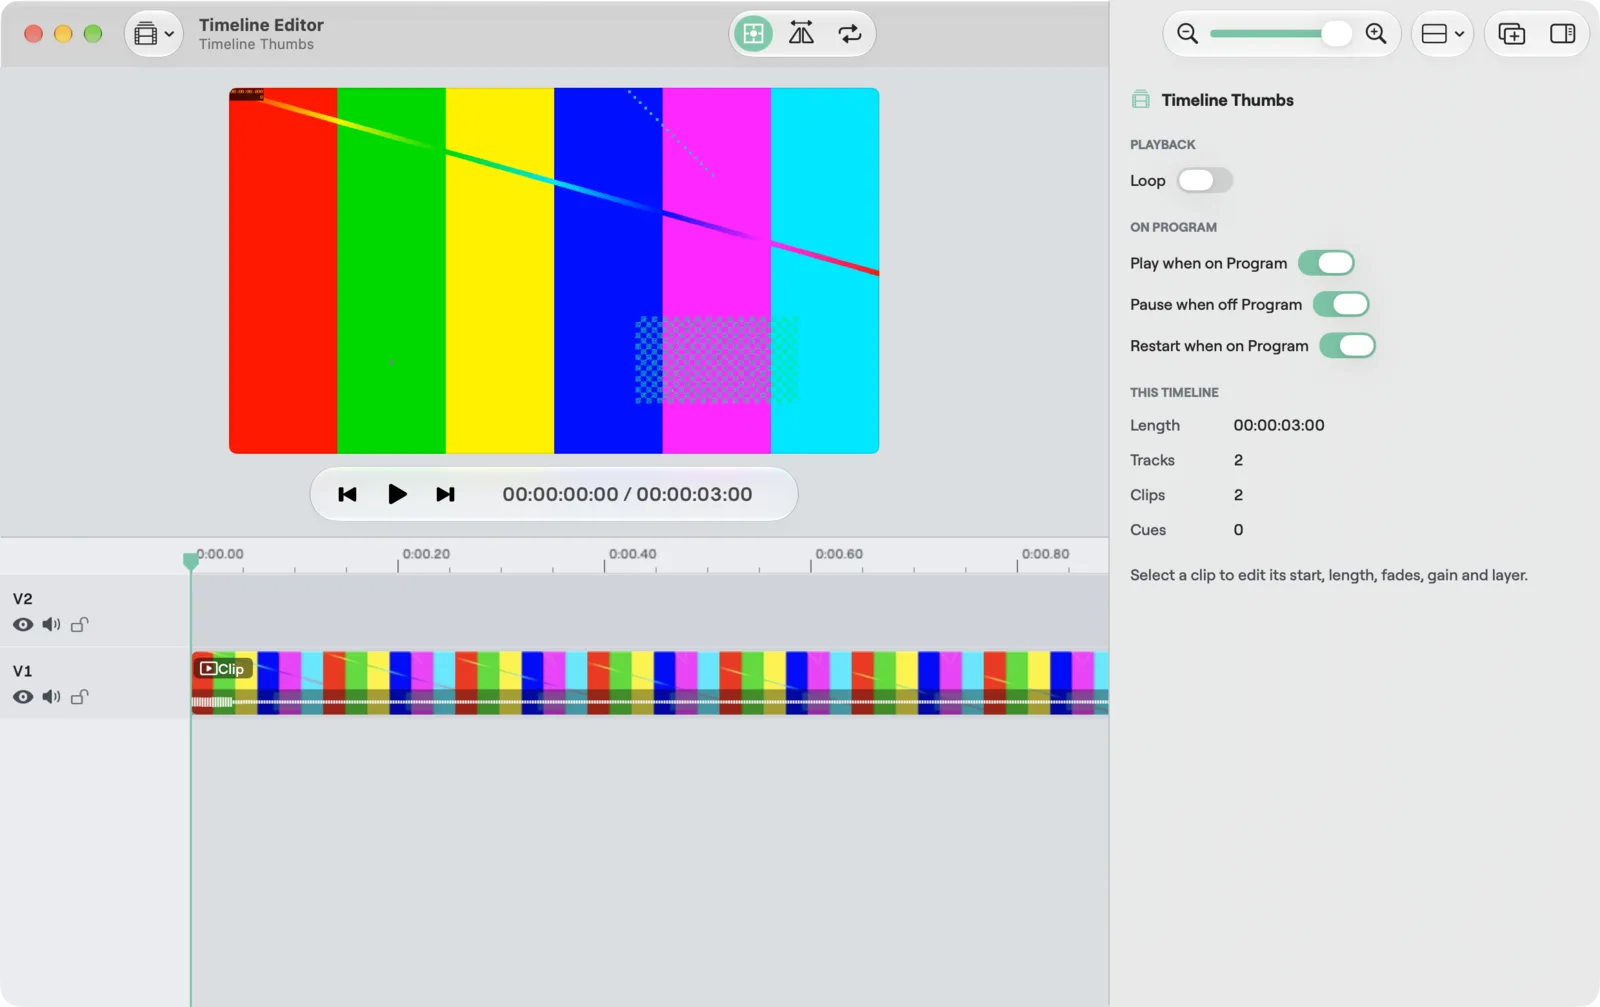
With nothing selected the inspector shows the timeline:
| Section | Fields |
|---|---|
| Playback | Loop: the timeline starts over at its end |
| On Program | Play when on Program, Pause when off Program, Restart on Program. All three start on, which is the behaviour described under Timeline |
| This timeline | Length, Tracks, Clips and Cues counts |
The Loop toggle in the toolbar and the one in the inspector are the same setting.
Thumbnails, waveforms and warnings
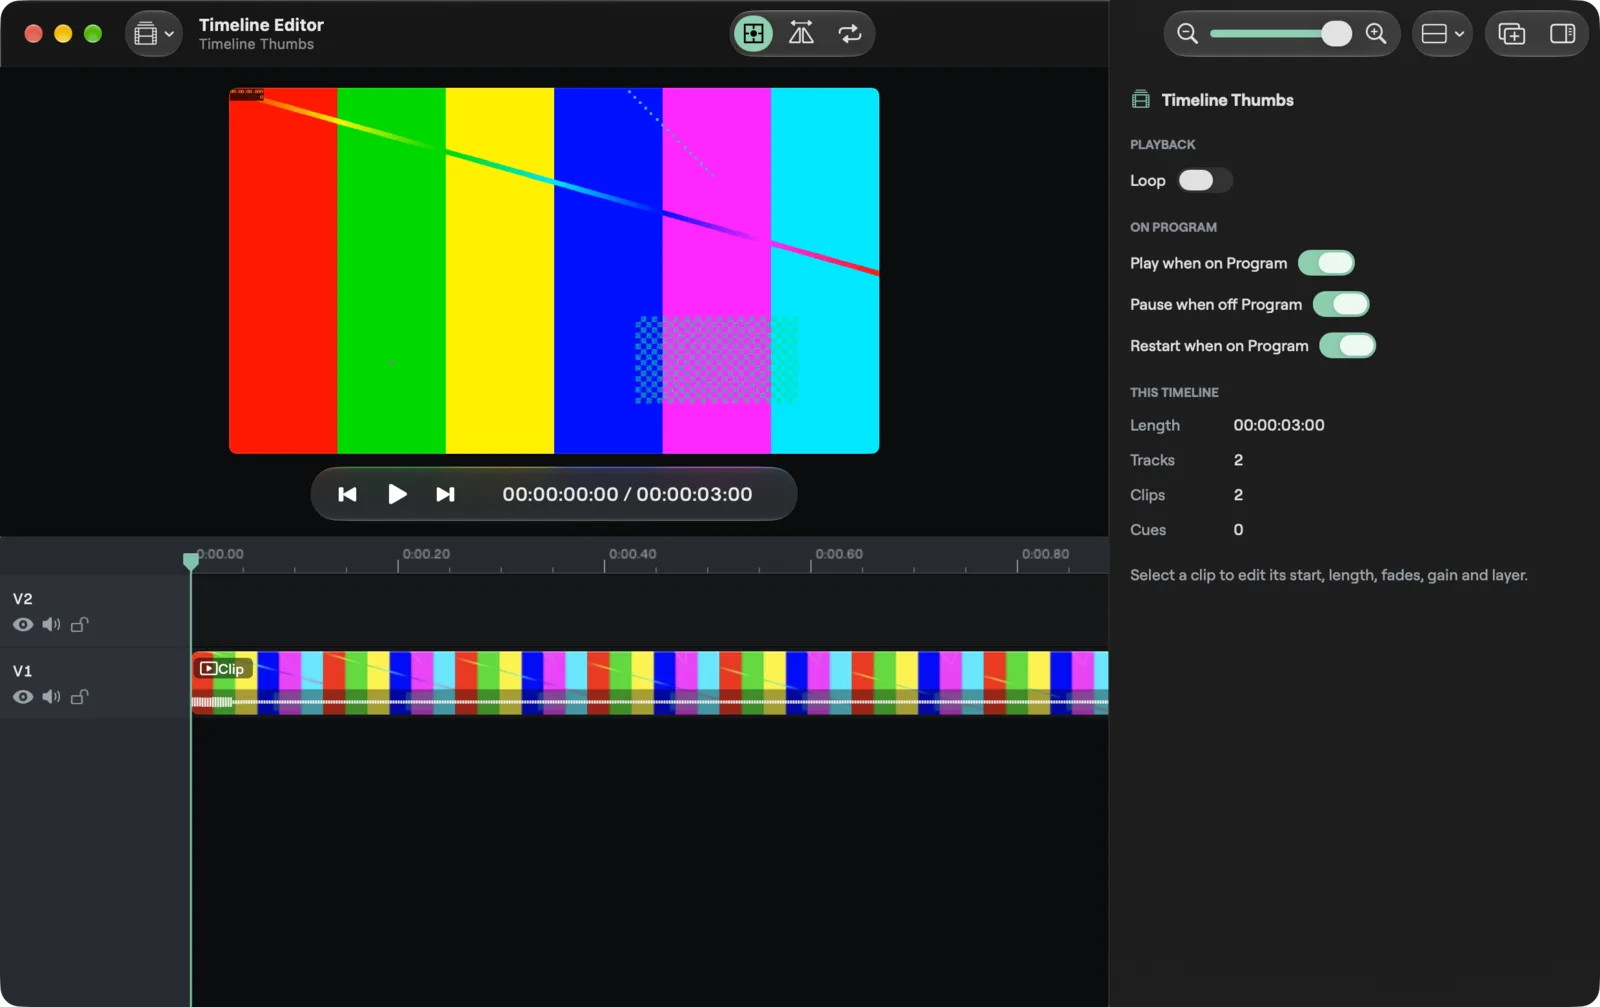
A media clip shows a filmstrip of its pictures and, along its bottom, its waveform. They fill in as you zoom, only for the part you can see.
Hover a clip to see why it is flagged:
- Missing: this clip's input is no longer in the show. The input was removed from the show. The clip stays so you can see where it was.
- Late: this clip should be showing but has no picture yet. Too many clips play at once, or the file did not open. Studio also raises the Timeline Clip Late warning.
Keyboard shortcuts
These work while a Timeline Editor window is in front and you are not typing in a field. They do not reach the Studio keys: Space plays and pauses the timeline here, while in the Studio window it stays Quick Play. Arrow keys repeat while held. Command is the primary key on the Mac.
| Keys | Action |
|---|---|
Space | Play or pause |
L | Fast Forward: play forward. Each press again doubles the speed, up to 4x |
J | Rewind: play backward. Each press again doubles the speed, up to 4x |
K | Pause |
Left, Right | Back or forward one frame |
Shift+Left, Shift+Right | Back or forward one second |
Up, Down | Previous or next edit point (a clip edge, a cue, the start or the end) |
Home, End | Go to the start, go to the end |
Command+K | Split at Playhead |
Q, W | Trim the start or the end of the clip to the playhead |
Delete | Delete the selected clips |
Shift+Delete | Ripple Delete |
Option+Left, Option+Right | Nudge the selected clips one frame (with Shift, one second) |
Option+Up, Option+Down | Move the selected clips to the track above or below |
Command+D | Add the default 0.5 second fades |
Shift+Command+D | Remove fades |
Command+T, Shift+Command+T | Add or remove a Cross Dissolve at the cut |
Command+R | Normal Speed (100%) for the selected media clips |
Shift+Command+R, Option+Command+R | Fast 200%, Slow 50% |
Option+K | Add Keyframe at Playhead |
Option+;, Option+' | Previous Keyframe, Next Keyframe |
Tab, Shift+Tab | Select the next or previous clip |
Command+A | Select all clips |
Shift+Command+Return | Add the input selected in Studio at the playhead |
Option+T | Add Title at the playhead |
S | Turn Snapping on or off |
M | Add Cue at the playhead |
Shift+M | Open the Cues list (Cue List in the menu) |
Command+Plus, Command+Minus | Zoom in, zoom out |
\ | Zoom to fit |
J, K and L work like the shuttle keys of a video editor. Pressing L or J the other way round starts again at normal speed, and K stops and sets the speed back to normal. Sound plays only at normal speed. While the timeline is on Program the keys accept only normal speed forward, so a faster or backward press changes nothing and Studio shows the notice Normal Speed On Air.
Undo and Redo are the Edit menu's, and cover the whole Studio setup. See also Keyboard Shortcuts.
VoiceOver
Each track is a group and each clip is an element. A clip reads like "Blue, starts 1 second, 4 seconds long, fade in half a second". Clips carry actions for the same edits as the keys: move earlier or later, move to the track above or below, split, trim the start or end to the playhead, add or remove fades and delete.
Run it from outside
The transport of a timeline is under External Control: Timeline play, Timeline pause, Timeline stop and Timeline seek. Over OSC, go to a time with /cliqer/studio/timeline_seek <input> <ms>, for example /cliqer/studio/timeline_seek 2 90000 (the input as a number or an id, the time in milliseconds).
Windows
The Timeline editor is on Windows, with the same window, tracks, clips, cues and inspector. Windows keys use Ctrl where the Mac uses Command and Alt where it uses Option. What differs:
- Open it. Double-click a Timeline tile, pick one from the list at the left of the edit bar (tooltip Open another timeline), or use Open Timeline Editor in the Timeline menu. Timeline is in Add Input as on the Mac.
- Edit bar. One slim bar between the picture and the ruler holds the timeline list, Snapping, the tool keys, the loop keys, the transport, the zoom keys, Track Height, Add Media…, Add Track and the inspector key.
- Right-click menu. Right-click on the tracks gives Cut Clips, Copy Clips, Paste Clips and Add Media…. The other clip commands are on keys.
- Add Media and drops. Add Media… opens the Windows file picker, and you can drop files from Explorer onto the tracks, see Add Media. There is no ghost clip: a drop lands under the pointer.
- Keys. The same commands as the Mac table below, with
CtrlandAlt. Four keys move because Windows keepsAltandCtrl+Altletters for menus and AltGr: Slow 50% isCtrl+Shift+5, Add Title isShift+T, Add Keyframe at Playhead isCtrl+[, and clearing the loop range isCtrl+Shift+X. Zoom withCtrland the mouse wheel. - At End. The same four choices in the Timing section of the inspector, and a media clip set to Stop cannot be trimmed or lengthened past its file.
Plan
Timeline is a Studio feature of the Ultra plan and up. The free trial and the Event Pass keep it. On any other plan the Timeline entry in Add Input shows a padlock. See Plans and limits.
Related
Inputs
Every kind of input Studio can take, how to add one, what an input tile shows and which settings each input has.
Library
The Library lists every file your Studio show uses: videos, sounds, images, SVGs, LUTs and data files. Sort them into bins, search and filter, import and paste, keep files in the show's Assets folder, collect them, relink missing ones, replace a file, drag items into inputs, scenes, Preview, Program, the timeline and titles, and audition sounds in your headphones. On Mac and on Windows.