Install
Download Cliqer from cliqer.io/download. Pick the download for your system, then follow the steps for macOS or Windows below.
- Download Cliqer for Mac from cliqer.io/download.
- Open the download and install Cliqer as you would any Mac app.
- Open Cliqer. The Welcome to Cliqer window appears.
- Choose Your Layout. Pick Classic Panel (the compact Cliqer panel, small beside your slides) or Split View (a sidebar window with room, studio, timer and devices). Click Continue. You can change this later in Settings > General > Layout.
- Allow Cliqer to work with your Mac. Grant Screen Recording and Accessibility. The Continue button stays off until both are granted. The other five permissions are asked when you first use them. Details are on the Permissions page.
- Sign in. See Sign in.
The Welcome to Cliqer window opens again whenever Screen Recording or Accessibility goes missing, and you can reopen it any time from Cliqer > Permissions….
Cliqer v3 checks for updates by itself, and only while your room is quiet. Turn on Beta updates under Settings to get test releases early. See Updates.
- Download Cliqer for Windows from cliqer.io/download.
- Run the installer you downloaded.
- Open Cliqer. The Welcome to Cliqer window appears.
- Choose your layout. Pick Classic panel (the compact Cliqer panel, small beside your slides) or Windows layout (a navigation pane with room, studio, timer and devices). Click Continue. You can change this later in Settings > General > Main window.
- Ready to present. Windows needs no permission to share your screen. Camera and microphone follow your Windows privacy settings, and Cliqer asks when you first use them. The window has two Open Settings buttons if you want to allow them now:
- Camera: for a host camera in Studio. Opens the Windows camera privacy page.
- Microphone: for your voice to people on a video call and to the room. Opens the Windows microphone privacy page.
- Click Start Cliqer. The main window opens. The Welcome to Cliqer window stays out of the way and closes with the main window.
- Sign in. See Sign in.
The window also lists three quick steps: share a display with Share, invite presenters with the link or QR code, and run the timer with Start in the timer card.
Cliqer v3 checks for updates by itself. When a release is ready and your room is quiet, a Cliqer update available dialog offers Install and restart or Later. The installer removes an earlier Cliqer install, including the previous MSI one. There is also an Arm64 build, which has no NDI output. See Updates.
What you see after the first launch
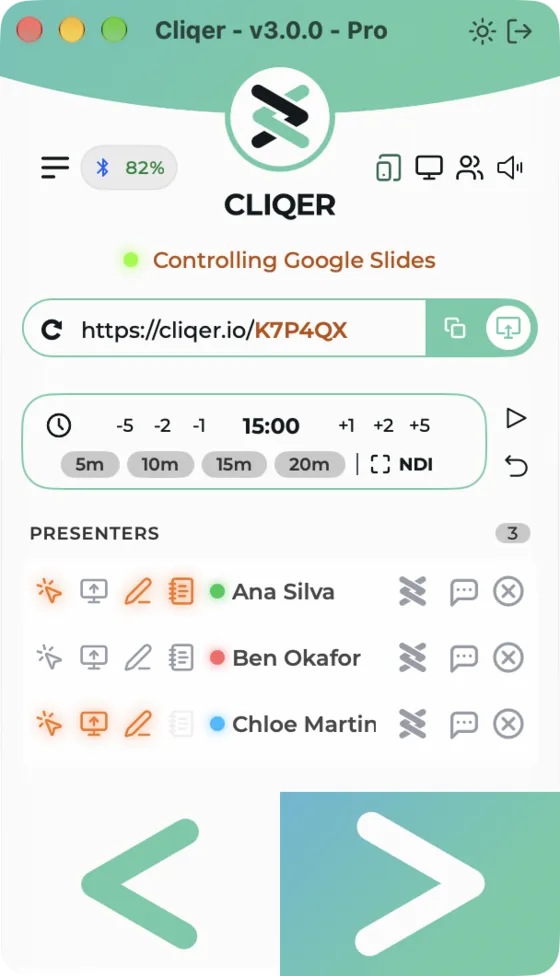
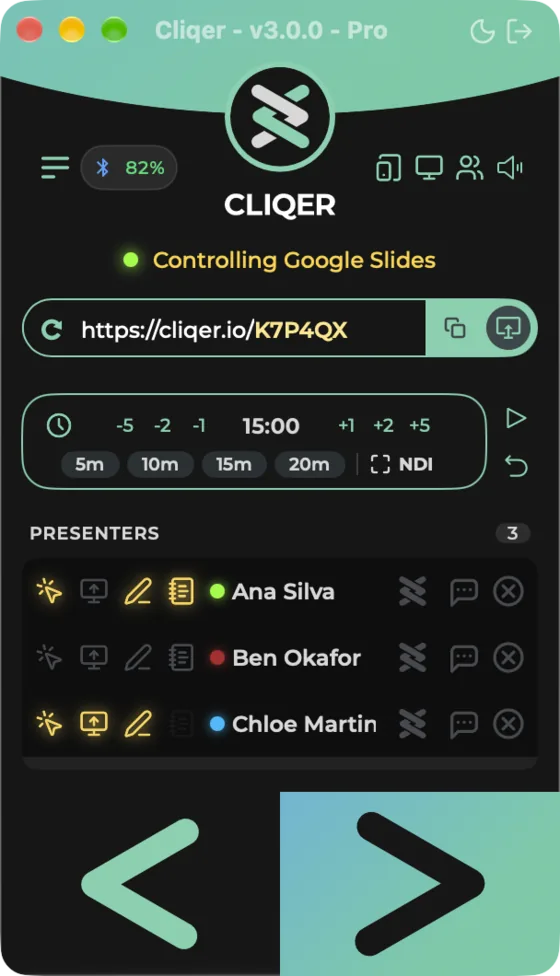
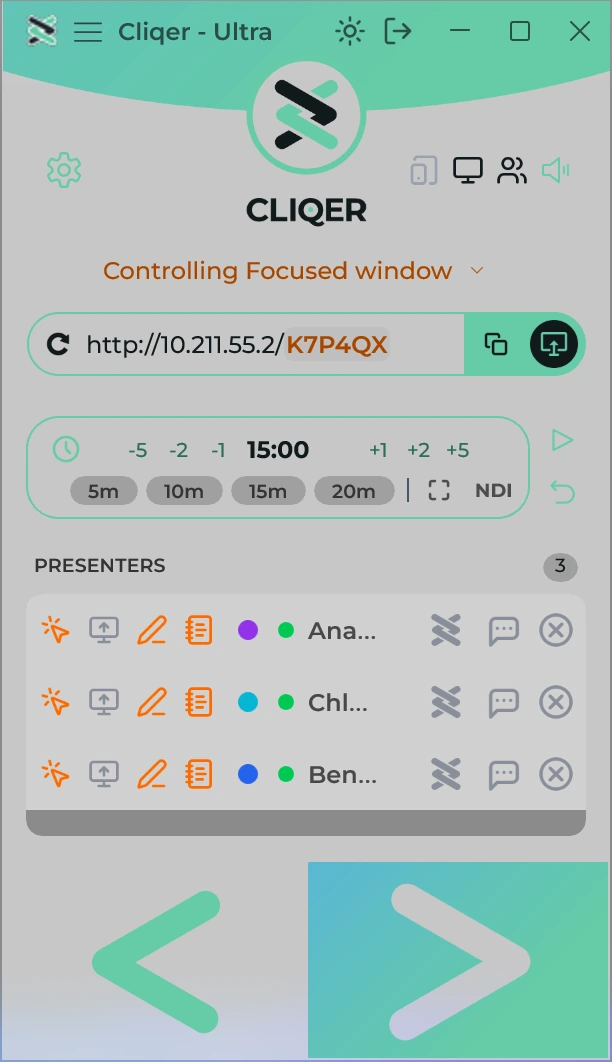
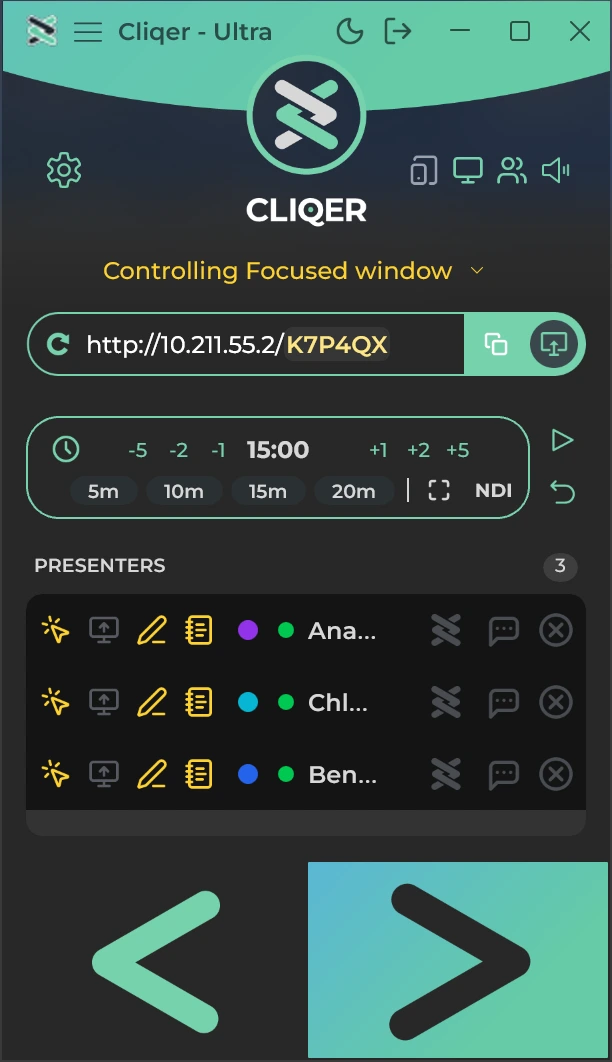
- Classic layout. A 304 point wide panel with a green banner. Signed out, it shows the sign-in form. Signed in, it shows the room link, the timer, the presenters list and the Previous slide and Next slide buttons.
- Split View (macOS) and Windows layout. A wider window (never smaller than 720 x 480 on macOS, 780 x 480 on Windows) with a navigation list: Room, Studio, Timer and Devices. On Windows Settings sits at the foot of the list. On macOS the foot shows the room at a glance (connection, presenters and the timer while it runs).
- Window title. The title reads Cliqer - v3.0.0 while you are signed out, and Cliqer - v3.0.0 - Pro (or your plan name) once you are signed in. During a free trial the plan is replaced by the countdown (Cliqer - Trial 12d, then Ends today, then Free) and the version is dropped on macOS. On Windows the Classic layout's narrow bar drops the version as soon as a plan or trial follows (Cliqer - Pro); the Windows layout keeps it.
- Where windows open. The first time, the main window opens 300 points (300 pixels on Windows) in from the bottom left corner of the usable area of your main display. After that every Cliqer window (main, Studio, Settings, Chat and the rest) opens where you left it, at the same size. A window left on a display you have since disconnected comes back on a screen you have.
Next: Sign in.