Library
The Library panel lists every file your show uses in one place: videos, sounds, images, SVGs, LUT files and data files. A file used by an input, a timeline clip, a title image or a LUT shows up once, however many things use it. From the Library you import files, sort them into bins, find them, see what uses them, fix files that went missing, and drag them to where they go.
Command. Where Windows differs it says so, and Windows and macOS lists every difference.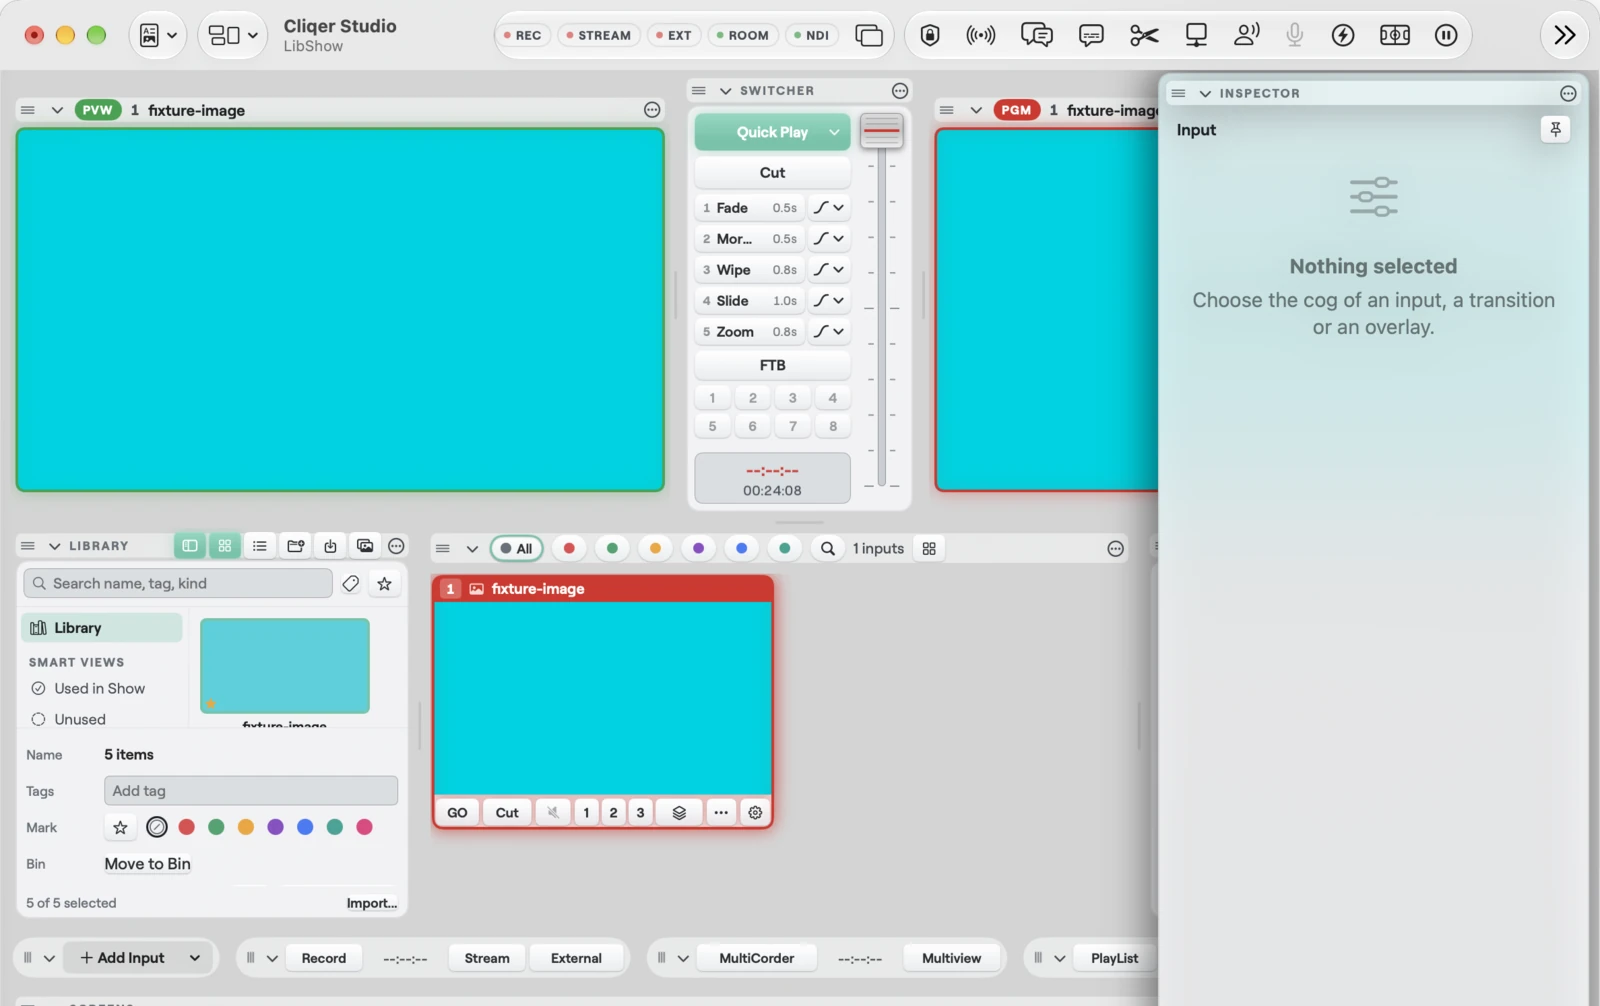
Open the Library
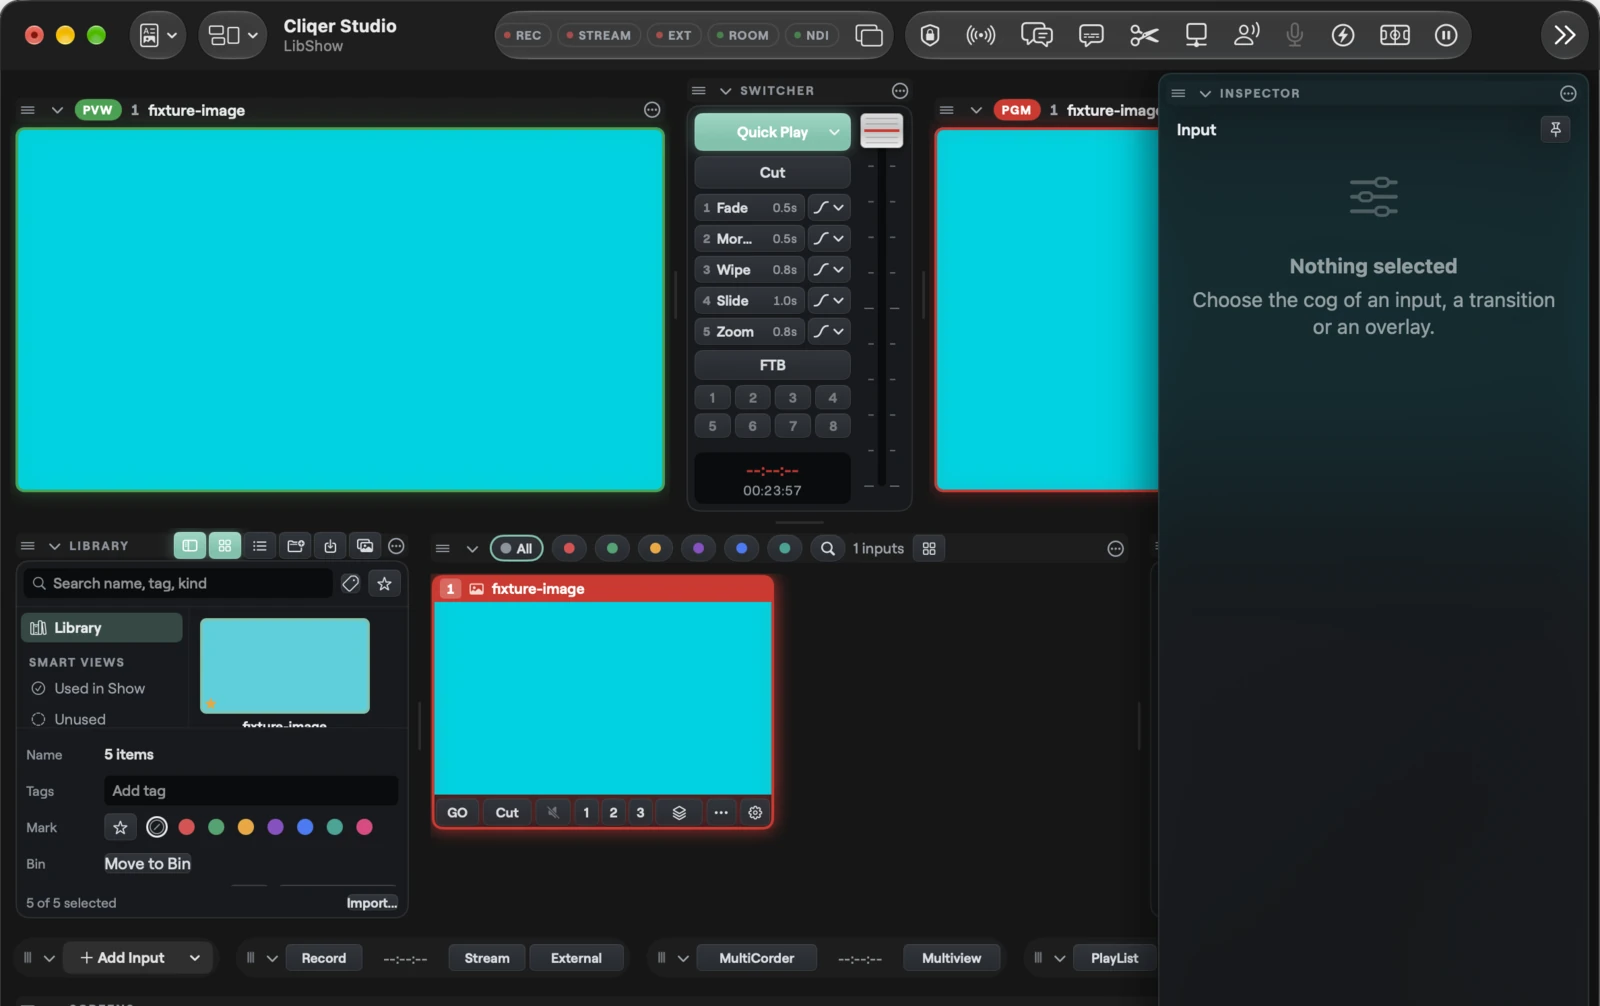
The Library is a panel of the Studio window like Inputs and Audio Mixer. The Classic layout has it on the left, beside Inputs. In a layout saved before the Library existed, or after you closed it, open it again:
- Layouts > Panels > Library in the Studio toolbar.
- Panels > Library in the View menu of the menu bar.
Choose it again to close it. A tick shows that it is open. You can also close it from the menu in its header. Move and resize it like any panel: drag it by its grip and drop it on the edge of another panel. See Layouts.
The Library is not in the Classic layout, because it makes the smallest window larger. Open it from Panels in the top bar: choose Library. It docks on the left of Inputs. Close it from the menu in its header. Drag its header to dock it somewhere else, like any panel, and save the layout if you want to keep it (see Layouts).
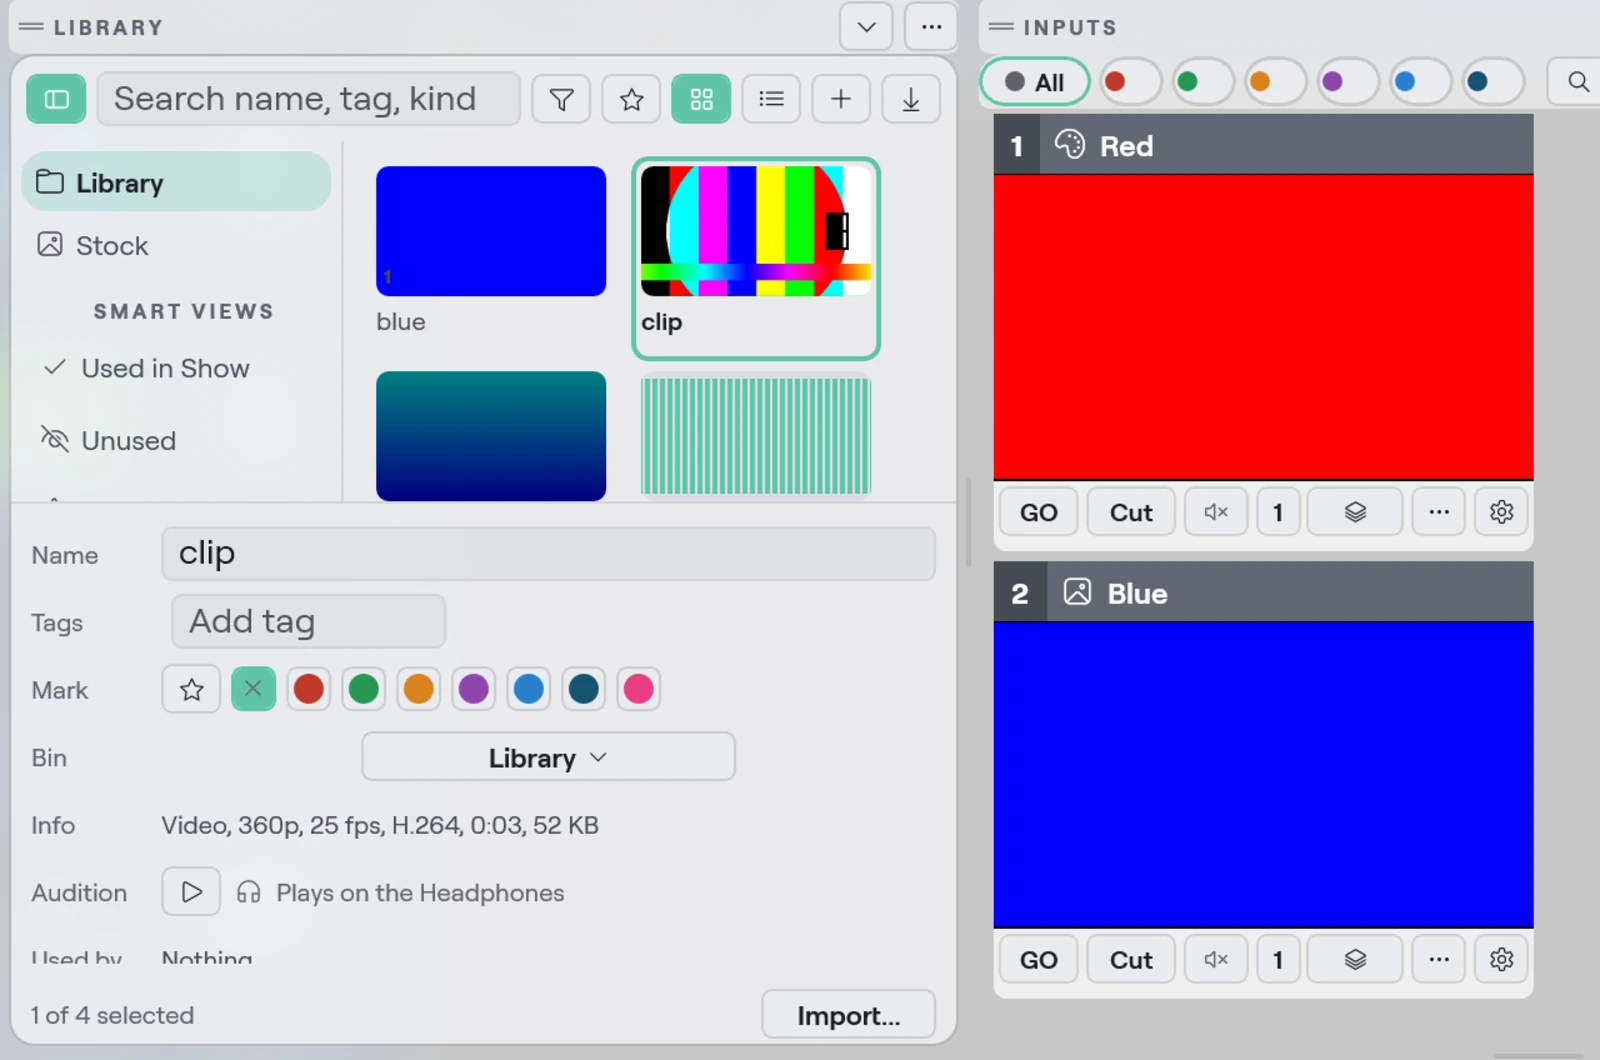
What is in the panel
| Part | What it holds |
|---|---|
| Header | Keys: Hide Bins or Show Bins, Grid, List, New Bin and Import Files... |
| Search | A field reading "Search name, tag, kind", a tag menu (Any Tag, then every tag in the view) and Favourites Only |
| Bins and views | Library (everything), your bins, then SMART VIEWS and COLLECTIONS. Hide it with Hide Bins |
| Items | The files in the chosen bin or view, as a grid of tiles or a list |
| Inspector strip | Under the items, for the selected item: Name, Tags, Mark, Bin, Info, File and Used by. It scrolls, and the items always keep room above it |
| Footer | "N items", or "N of M selected", and an Import... button |
| Part | What it holds |
|---|---|
| Header | Keys: Grid, List, New Bin and an Import key that opens Import Files... and Import Folder... |
| Search | A field ("Search Library"), a tag filter (Filter by Tag, Any Tag) and Favourites only |
| Bins and views | Library (everything), your bins, then Smart Views and Collections |
| Items | The files in the chosen bin or view, as a grid or a list |
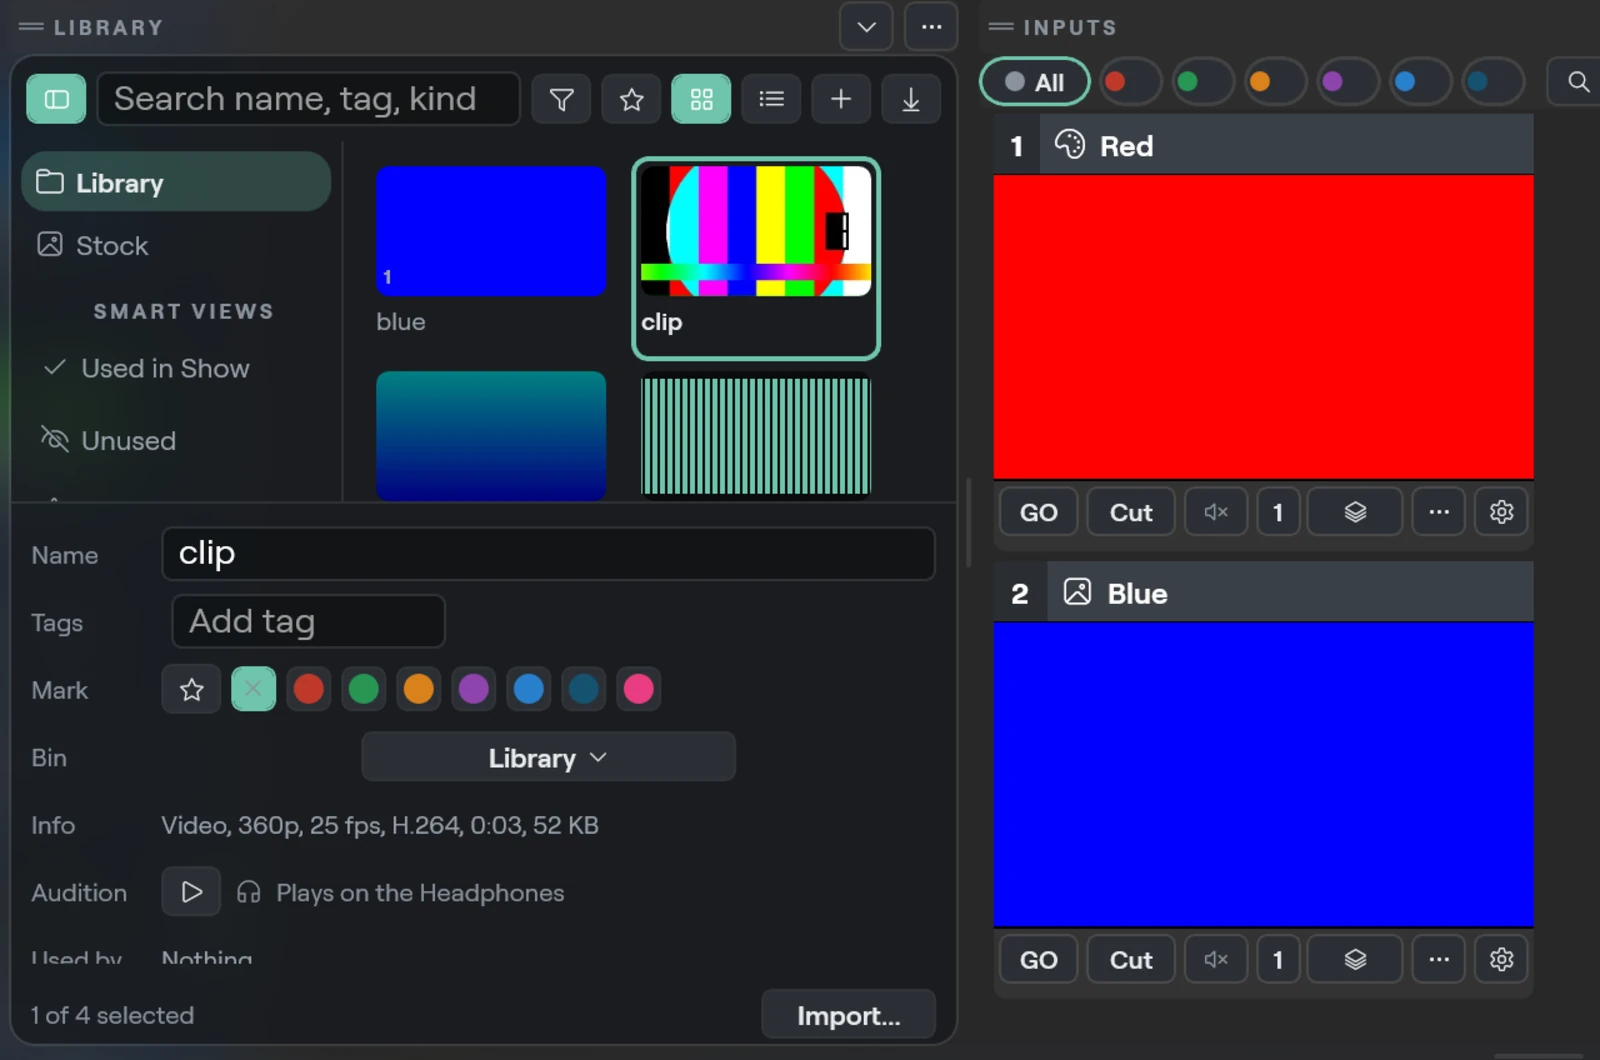
| Inspector strip | For the selected item: Name, Tags, Mark, Bin, Info, Audition, Used by and File |
With nothing in the view the panel says Nothing Here and "Drop files here or use Import." (Windows: "Nothing here. Use Import."). If a search matches nothing it says No Matches.
Grid and list
The grid shows a tile per item with a picture: a poster frame for a video or an image, a waveform for a sound, an icon for the rest. Rest the pointer on a video tile and move it sideways to scrub through the clip. The list shows one row per item with a small picture, its name, a line of info (for example "Video, 360p, 25 fps, H.264, 0:03, 52 KB"), how many times the show uses it (Used) and its Size. A star marks a favourite, a coloured dot a label, and a warning triangle a file that is Missing.
What the Library takes
| Kind | Files |
|---|---|
| Video | mp4, m4v, mov, mkv, webm, avi, mxf, mpg, mpeg, ts |
| Audio | mp3, wav, aif, aiff, m4a, aac, flac, ogg, opus, caf |
| Image | png, jpg, jpeg, gif, bmp, tif, tiff, webp, heic |
| SVG | svg |
| LUT | cube, 3dl |
| Data | csv, json (for titles that read a data file) |
| Playlist | m3u, m3u8 |
Fonts are never Library items. Fonts are not carried with a show, see What is not carried.
A file the Library already holds is not added twice: importing it again finds the same item.
Bins, smart views and collections
Bins are your own folders. They live in the show, so they travel with it, and they can sit inside each other.
- New Bin (header key) makes a bin inside the bin you are looking at. On the Mac, right-click a bin for New Bin Inside, Rename and Delete Bin. On Windows, right-click a bin for Rename bin, Delete bin and New bin.
- Move items by dragging them onto a bin, or with Move to Bin in the item's menu and the Bin menu of the inspector strip.
- Deleting a bin deletes no file: its items and its bins move up to the bin around it.
Smart views are saved searches Studio keeps for you. You never fill them by hand, and they stay up to date:
| View | What it shows |
|---|---|
| Used in Show | Items an input, clip, title or LUT uses |
| Unused | Items nothing uses |
| Missing | Items whose file is not where the show expects it. See Missing files and Relink |
| Outside Show Folder | Items whose file is not inside the show's folder. These are the files Collect Show copies |
| Favourites | Items you starred |
| Recent Imports | The last 50 files you imported |
| Stingers | Videos with an alpha channel (see-through areas), ready to be a stinger |
| Sounds | Audio files |
Collections list things that are not files of your show:
| Collection | What it shows |
|---|---|
| Titles | The house title templates and your own. Drag one where it goes |
| Scenes | The built-in scene templates (Side by Side, Picture in Picture, Grid 2 x 2, Floating Card, Studio Floor and more) |
| Looks | Saved looks. Empty for now |
| Sources | The live inputs of the show (cameras, NDI sources, screens, callers, capture cards), listed from your inputs. They are never copied |
Search and filter
Type in the search field. The panel shows items whose name, file name, tags or kind match, and also words from the file's details, such as 1080p, ProRes or alpha. Search works inside the bin or view you chose. Pick a tag in the tag menu to show only items with it. Turn on Favourites Only to show starred items only.
Select and organise
Click an item to select it. Shift-click selects a range and Command-click adds or removes one (Windows: Shift and Ctrl). Command+A (Windows: Ctrl+A) selects every item in the view. Edits apply to every selected item.
The inspector strip edits the selection:
| Field | What it does |
|---|---|
| Name | Rename the item. Return keeps the new name. Only the Library name changes, never the file on disk |
| Tags | Type a tag in Add tag and press Return. Remove one with its x |
| Mark | The star makes it a favourite. The colour dots set a label: Red, Green, Amber, Purple, Blue, Teal or Pink, or None |
| Bin | Moves the selection to a bin |
| Info | The kind, size, frame rate, codec, length and so on. A missing file says so in colour |
| File | Relink... for a missing file, otherwise Replace File.... On the Mac also Show in Finder |
| Used by | Every input, clip, title or element that uses the item. Click a line to select that input in Studio. Says Nothing if it is unused |
| Delete and Remove from Show | See Delete |
Right-click an item for the same edits in a menu: Add to Favourites or Remove from Favourites, Label, Move to Bin, Audition, Relink... or Replace File..., Show in Finder (Mac), Delete and Remove from Show. The Delete key deletes the selection too.
Delete
Delete takes an item out of the Library when nothing uses it. It never deletes the file on disk. If the show still uses the item, Delete is refused and the notice File In Use says where it is used. Choose Remove from Show instead to delete the item and everything that uses it: the inputs, clips and title images that name it are removed too. An input on air leaves with its transition first. While a setup on air is waiting for its Take (Edit Live off), removing what is on air is refused, so Program never changes behind your back.
Import
Three ways to bring files in. They go into the bin you are looking at.
- The button. Import Files... in the header, or Import... in the footer on the Mac, opens the system file picker: choose files, or folders. On Windows the Import key offers Import Files... and Import Folder.... A folder brings in every file of a kind the Library takes, from the folder and everything inside it, and skips the rest. A single file the Library does not take, a font for example, is refused.
- A drop. Drag files or folders from Finder (Explorer on Windows) onto the panel. On the Mac you can also drop them on a bin in the list to put them straight into it.
- A paste. Copy files in Finder (Explorer) and press Command+V (Windows:
Ctrl+V) with the item list in front, and they are imported. Copy a picture itself instead, from a browser or an image viewer, and the paste adds it as Pasted Image (png, jpeg or, on Windows, bmp) to the Library, with its bytes stored in the show's Assets folder. On the Mac you can also drag a picture straight from a web page onto the items or onto a bin.
To paste, click an item in the list first so it has the keyboard. In a text field, such as the search field, Command+V pastes text as always.
Files you import stay where they are: the Library refers to them, it does not copy them. Pasted pictures have no file of their own, so they go into Assets. To copy everything into the show at once, use Collect Show.
The show folder and Assets
A saved show is a folder: the show file <name>.cliqer and an Assets folder beside it.
- First Save. When you save a new show for the first time, Studio makes a folder named after the show inside the place you chose, with
<name>.cliqerandAssetsin it. Choose Save Show and give the show a name. - Before the first Save. Pasted pictures wait in a temporary folder of the app. The first Save moves them into the new
Assetsfolder, so nothing is lost and no path changes. - Save As. Save Show As... makes a new folder for the new show the same way, and copies the show's
Assetsfiles into it. The old folder is left alone. Files from outside the show folder stay referenced where they are, they are not copied. If you choose a place inside the current show's folder, the new file lands beside the old one and they share the sameAssets. - Names in Assets. A file keeps its own name. A second, different file with the same name becomes
name 2. The same file twice is stored once. Studio never deletes files fromAssetsfor you. - Moving a show. Copy the whole show folder to another computer and every item inside it comes with it, with its bins, tags, labels and favourites. Files that sit outside the folder do not come along: they show as Missing there until you relink them, so run Collect Show before copying.
The Program snapshot picture Studio saves for the show goes into Assets/Snapshots.
Collect Show
Collect Show copies every file a show uses from outside its folder into its Assets folder, and points the show at the copies. After it, the show folder is complete and safe to copy or move.
- On the Mac: Collect Show... in the File menu, in the Show menu of the Studio toolbar, and the Collect Show... button in the strip over the Outside Show Folder view. On Windows: Collect Show... in the File menu of the menu bar, in the show files menu of the top bar, and the Collect Show... key in the same strip.
- The strip reads "N files, X MB outside show folder". The command is dimmed when there is nothing to collect.
- An unsaved show is saved first, because there is no folder yet. Studio opens the Save panel, and the notice Save the Show First says so if the show still has no folder.
- Studio checks that the show's disk has room. If not, you get Not Enough Space with both sizes and nothing is copied.
- A progress sheet (Windows: a progress card) shows Collecting Files with the bytes copied. Cancel stops it and removes the copies it made. Nothing is changed.
- Each copy is checked against the original before it counts. Files that are already missing are skipped and listed in the notice Show Collected: "Copied N files (X MB) into the show's Assets folder." plus how many were skipped. Relink those, then collect again.
- It is one step in Undo: Undo Collect Show points the show back at the original files. The copies stay on disk.
- Collecting changes nothing on air. A copy is the same bytes as the original, so no picture changes and no Take is needed.
Missing files and Relink
Studio watches the folders of your files and notices when one is moved, renamed or deleted. The notice Files Missing appears: "Cliqer cannot find N files this show uses. Relink them in the Library's Missing view." Its Show Missing button opens the Library on the Missing view. A missing item shows a warning triangle and its inputs show their usual missing state.
To fix files:
- Select a missing item and choose Relink... (in the inspector strip, or the item menu). Pick the file's new place.
- Studio then looks in the same folder, and in the folders inside it, for the other missing files by name, size and content, and relinks every one it finds. The Mac panel footer says "N files relinked".
Relink applies at once, even on air: nothing is showing a missing file. It is one step in Undo (Undo Relink).
Replace File
Replace File... swaps the file behind an item for another file, and everything that used the old file now uses the new one. Pick the new file. It must be the same kind as the old one: a video for a video, an image for an image.
- Off air, or with Edit Live on, the swap happens at once and the item keeps its name, bin and tags.
- On air with Edit Live off, the new file waits for the Take. The input shows its waiting marker, Preview shows the new file, and Program keeps the old one until you Take. The Take airs the new file. This is Preview then Take like any other on-air edit.
- After a Take, the old item stays in the Library with the old file. It shows under Unused if nothing else uses it. Delete it when you do not need it.
- A List that plays the replaced item keeps the old file while it is on air.
Undo Replace File takes the swap back. If the new file was only waiting, the undo removes it from Preview and Program keeps the file it had.
Drag items where they go
Drag any item, or several selected ones, out of the Library. As you move, the target highlights and a line under the pointer says what a drop will do, or why not. The drop is one undo step.
| Drop on | What happens | Words you see |
|---|---|---|
| Inputs | A media, image, sound or list input is made per item, at the place you drop | Add as input |
| Inputs, a scene template | A new scene is made, filled from the template and the current Preview. With an empty Preview the scene has no layers | Add as input |
| Bin | Moves the items | Move to bin |
| Scene canvas (Scene Editor) | A layer, at the point you drop | Add as layer |
| Preview | The item's input goes to Preview | Show on Preview |
| Program | An explicit take: the input is made and taken to Program with the Quick Play transition | Take to Program |
| Timeline | Clips on a track. See Timeline editor | Add clips |
| Title canvas | An image or SVG becomes an image element at the point | Add image |
| Stinger slot | Sets the stinger. The item must be a video | Set stinger |
| Overlay | The input is cued on that overlay channel, not shown. The channel's own button shows it | Cue on overlay |
| A list | Adds the file to the list's files | Add to list |
Some drops are refused, with the reason under the pointer: A stinger needs a video, The title takes images, A title template opens a new title, Drop a scene template on a scene with layers, Drop one item here and That does not go here. Dropping a Finder file onto a target imports it first, then does the drop.
Preview then Take. A drop never changes Program behind your back, except the explicit Take to Program drop. A drop that edits something on air with Edit Live off lands in its Preview draft, and Program keeps what it has until you Take. See Transitions.
Audition
Listen to a sound or a video's sound before you use it, without anyone else hearing it.
- Select one audio or video item and press Space. Press Space again to stop. Or use the play key in the Info line of the inspector strip (tooltip Audition on Headphones (Space), Stop Audition (Space)), or Audition and Stop Audition in the item's menu.
- It plays in your Headphones mix only. Program, Master, the room and every output stay silent, and nothing on air changes. A solo does not mute it. The Headphones meter moves with it.
- A bar shows the position and "m:ss / m:ss". Press or drag on the bar to jump to a place.
- Only one audition runs at a time: starting another replaces it. It always starts from the beginning. Changing the selection does not stop it, so you can keep browsing. It stops at the end of the file, when you open or start a show, or when the item is deleted or its file goes missing.
- A video item plays only its sound: no picture shows anywhere.
- There is no pause, only start, stop and jump.
- Space needs the item list in front: click an item first. In the search field, Space types a space.
- On Windows a thin bar also runs along the picture of the item that is playing.
Audition is a live act like a Take: it is not part of Undo.
Undo
Every Library edit is one step in Studio's undo, so Edit > Undo takes back the whole thing: Undo Import, Undo Rename Asset, Undo Move to Bin, Undo Tags, Undo Favourite, Undo Label, Undo Delete from Library, Undo New Bin, Undo Rename Bin, Undo Delete Bin, Undo Drop, Undo Relink, Undo Replace File and Undo Collect Show. A drop that makes several inputs undoes in one go. Undo never deletes a file from disk: an import that is undone leaves the file where it was, and a pasted picture stays in Assets.
Not in undo, because they are live: Audition, and the Take that airs a waiting file.
What is not carried
- Fonts. A show never carries fonts. A title that uses a font that is not on the computer draws in the system font and Studio says Font Missing. See Titles.
- Machine collections. The house title templates, your own title templates and the scene templates belong to the computer, not to the show. What a show uses of them is already in the show.
- Files outside the show folder. They are referenced, not copied, until you run Collect Show.
- Previews. Posters, waveforms and the details cache are rebuilt on each computer.
Windows and macOS
The Library is the same on both: bins, smart views, collections, search, grid and list, the inspector strip, import, paste, Assets, Collect Show, Relink, Replace File, drag and drop and audition work the same. What differs:
| macOS | Windows | |
|---|---|---|
| In Classic layout | Yesleft of Inputs | No. Open it from Panels |
| Modifier keys | Command, Shift | Ctrl, Shift |
| Import menu | Import Files... key, files and folders in one picker | Import key with Import Files... and Import Folder... |
| Paste a picture | Command+V, and drag a picture from a web page onto the items or a bin | Ctrl+V (png, or a bitmap from the clipboard) |
| Show in Finder | Yes | Not built |
| Collect Show | File menu and the strip button | File menu, the show menu of the top bar and the strip key |
| Drop targets in other windows | Scene Editor, Title Designer, Timeline, Overlay, list | Not built. A drop works only on Inputs, Preview, Program and bins. A scene on Preview takes a layer at the pointer. Files dropped from Explorer land in the middle of Inputs, Preview or Program |
| Select | Click, Shift, Command, Command+A | Click, Shift, Ctrl, Ctrl+A |
| Marquee select (drag a box) | Not built | Not built |
| Duplicate an item | Not built | Not built |
| Title and scene template previews (moving pictures) | Not built | Not built |
| Saved looks | Not built | Not built |
Plan
The Library has no plan limit of its own.
Related
Timeline editor
Lay clips out in time on tracks in Studio: open the editor, add and move clips, trim, fade, dissolve, change speed, keyframe a layer, add titles, grade a clip with its own effects, snap and ripple, set cues and their follow actions, read the inspector and use the keys. On the Mac and on Windows, Ultra plan and up.
Teleprompter
A Teleprompter is an input that scrolls your script past a reading line. Add it, paste or import a script, set the look, the speed and the direction, jump between sections, watch the time left, and mirror it for a beam-splitter, per input or per output. Control it from keys, MIDI and Stream Deck. On Mac and on Windows.